After creating the levitation shot of the Pomelo, I kept experimenting and wanted to make another keyboard levitate. This, for sure, is rapidly becoming my favourite technique, haha.
The challenge this time was that this keyboard was heavier and slightly bigger than the Pomelo. As luck would have it, I happened to do this the same day I had an arms workout. This turned out to be not the best idea, as you will soon see why.
Bad timing. I ultimately rejected all the shots but learned a lot while working on them.
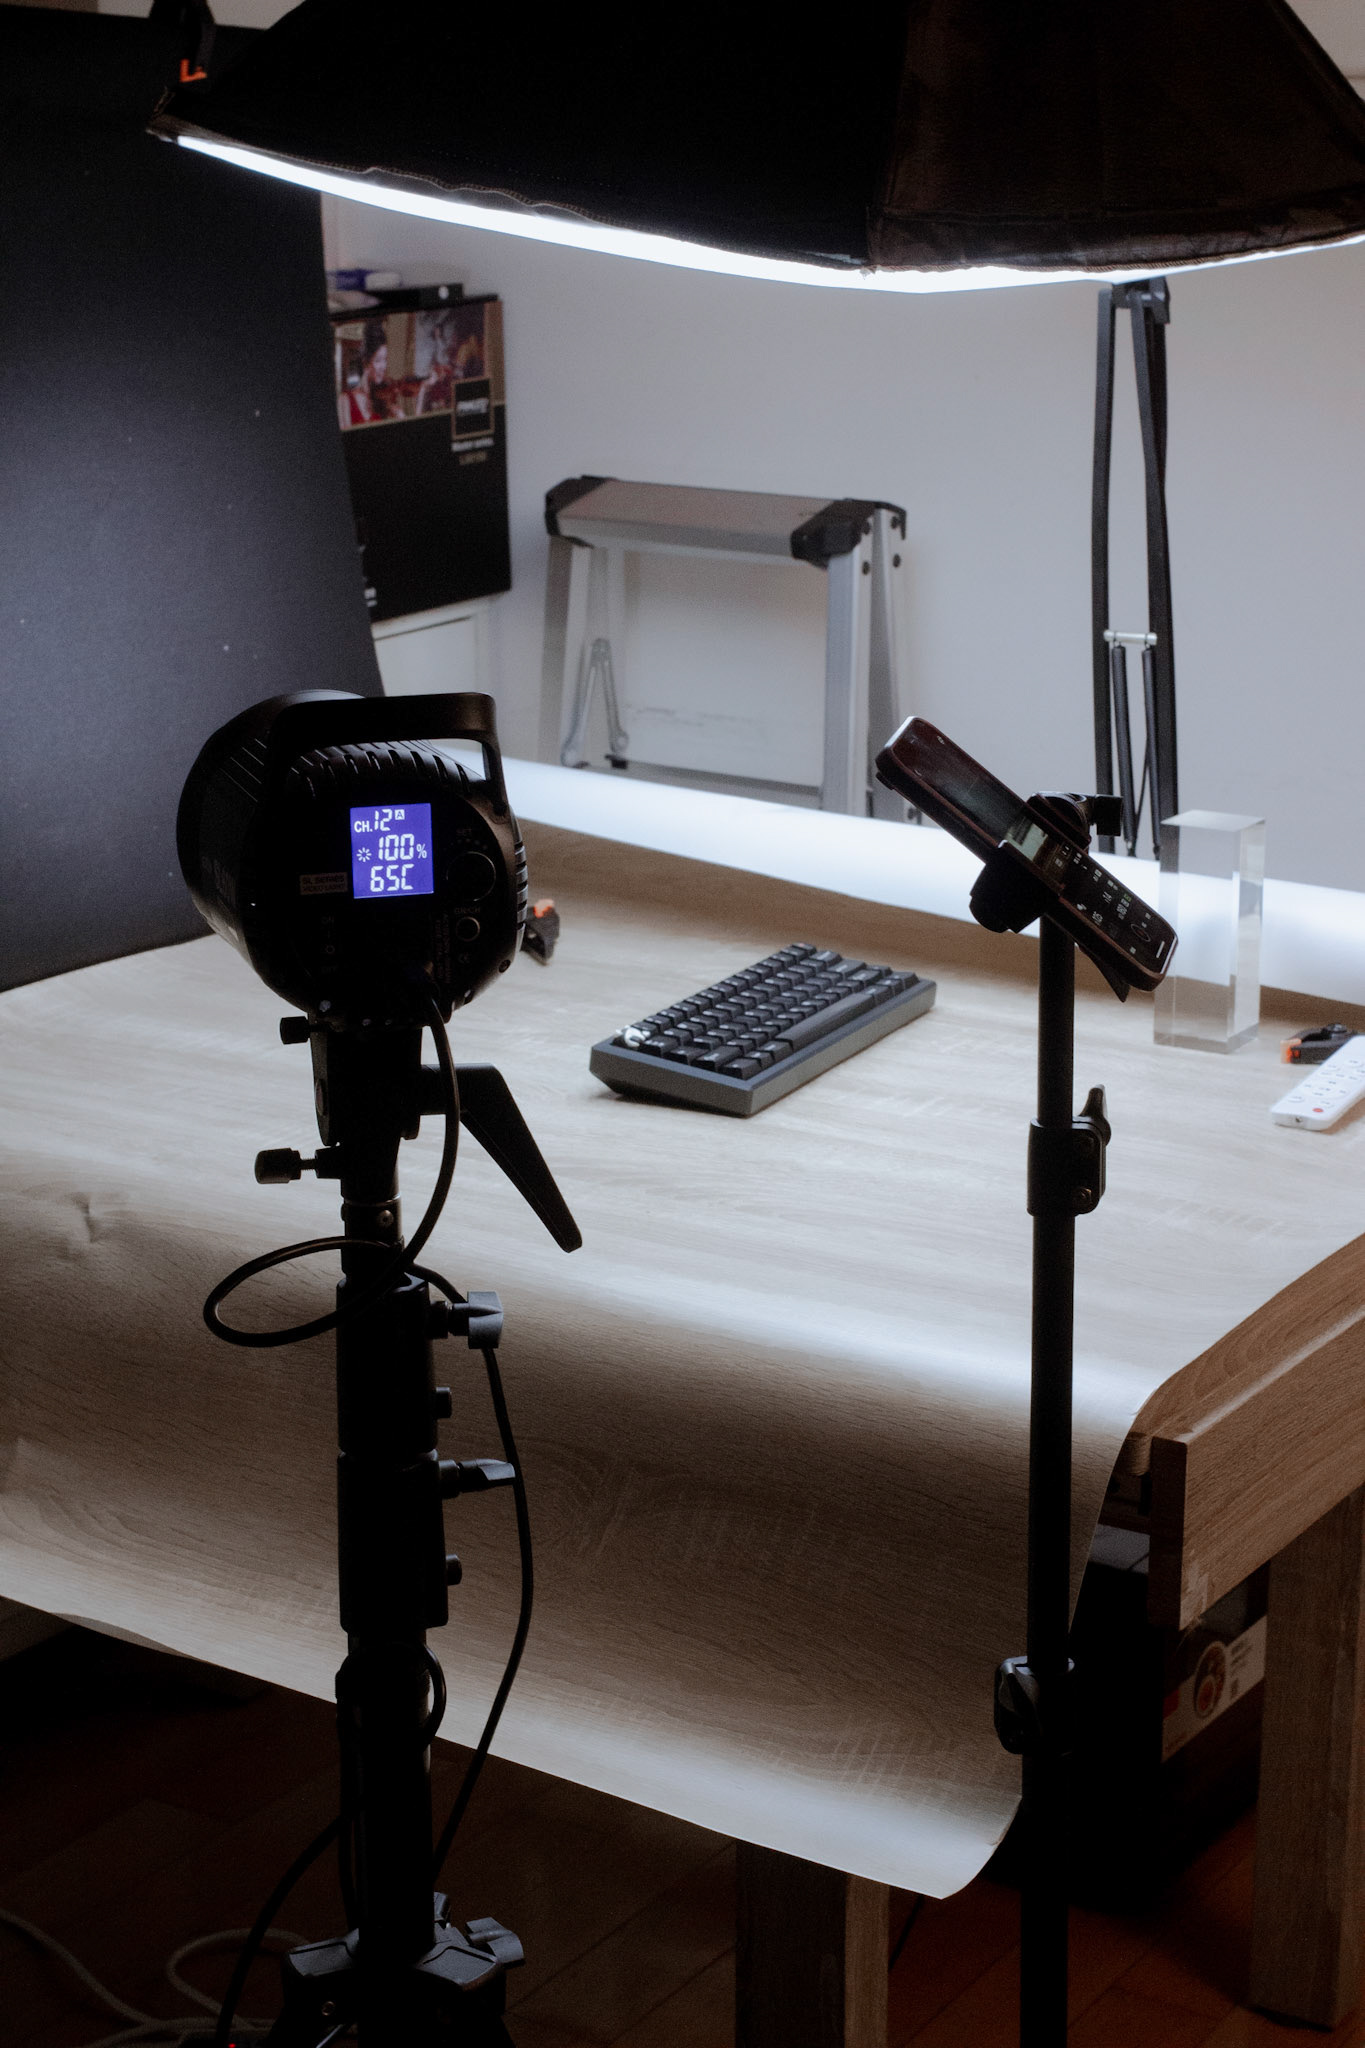
The setup
My setup was very simple. All lights are continuous.
• An LED lamp with a softbox pointing downwards directly above the keyboard.
• Another LED light with a softbox parallel to the keyboard. I mounted this one with a varipole because the space in my room didn't allow me to have both the light and the camera mounted on tripods, and I wanted the light to come from the same direction as the camera.
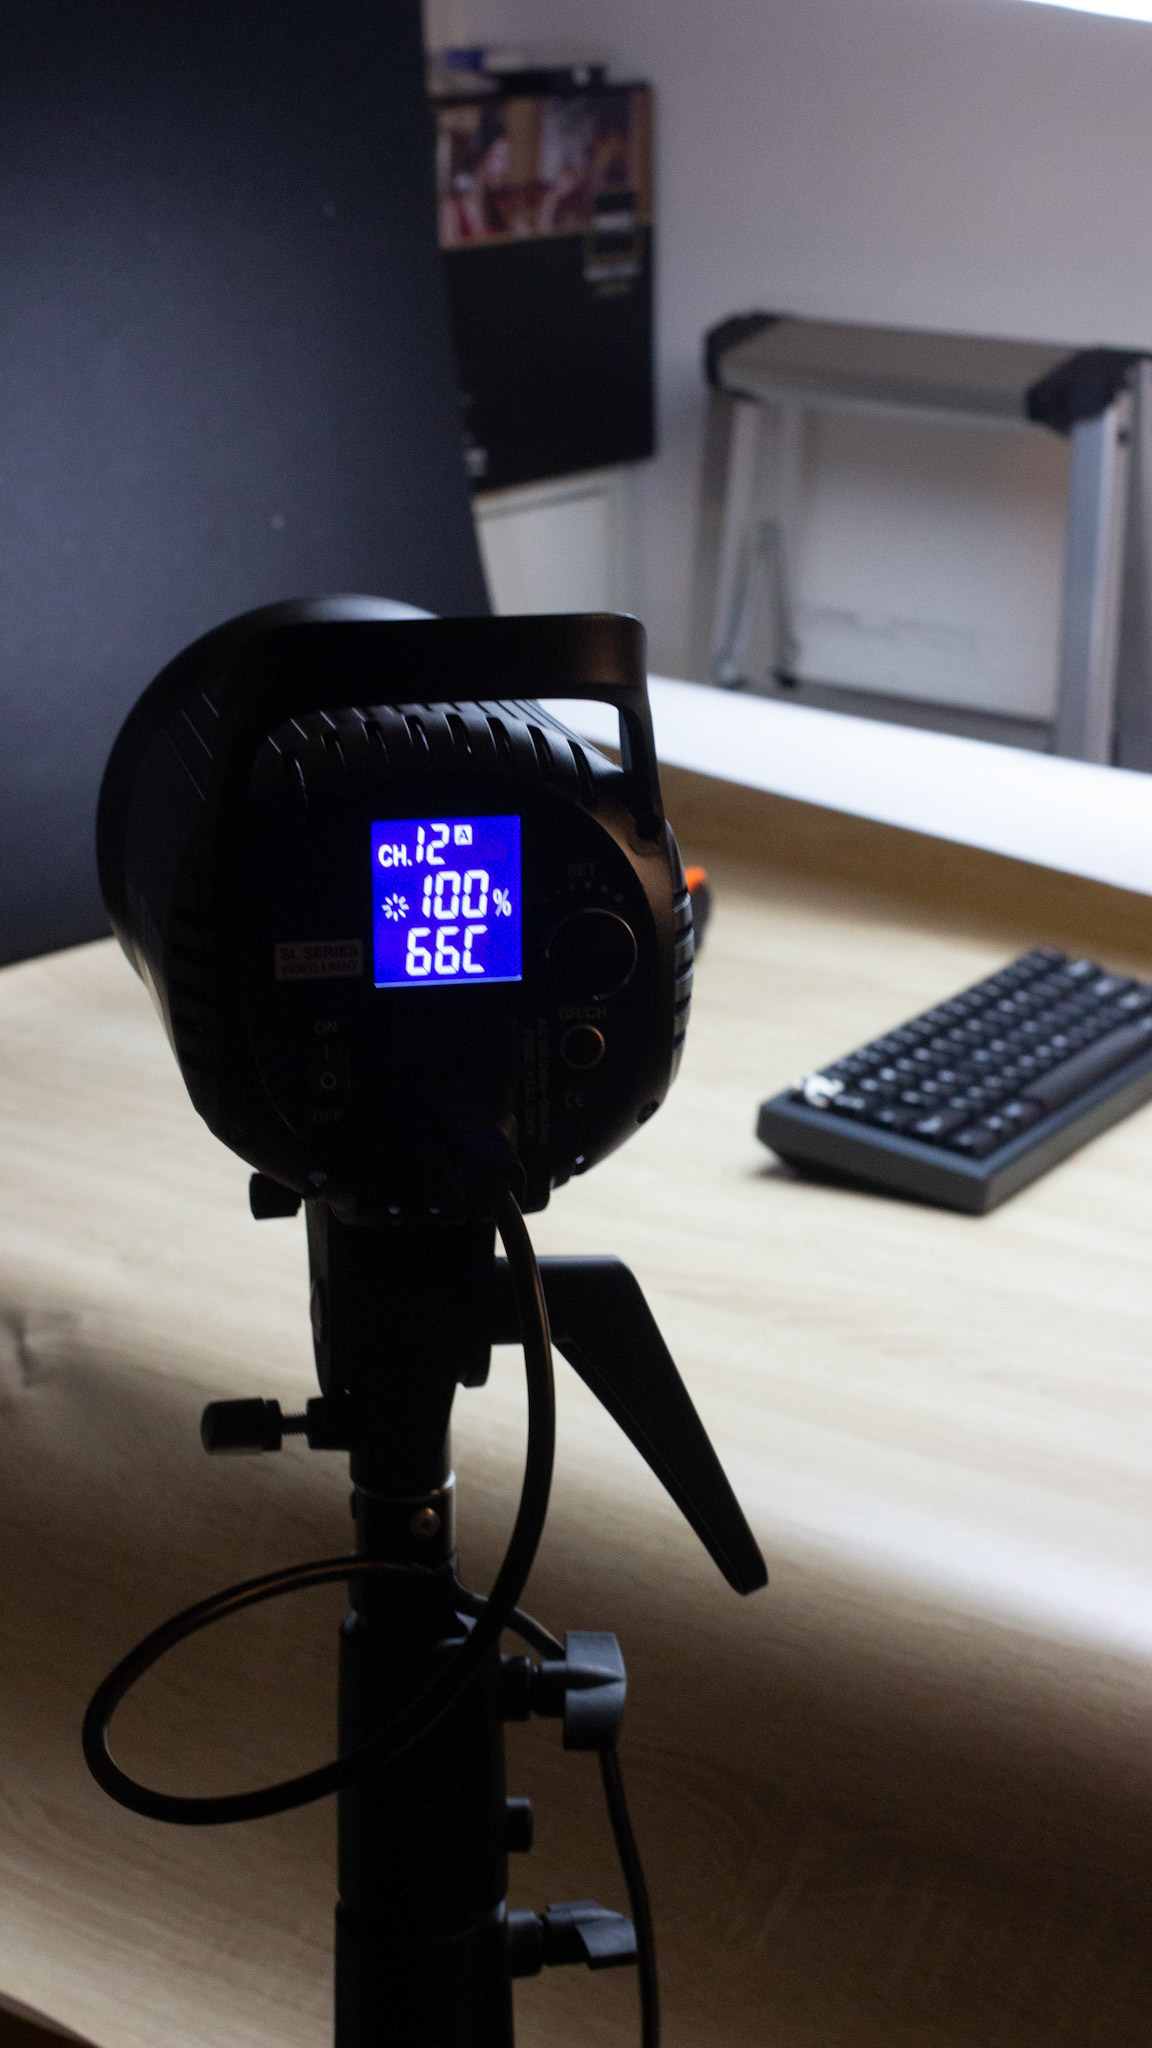
• Godox SL60w with the snoot modifier pointing to the backdrop to create a soft spotlight in the background.
• Two backdrops, one in the back and one on the table, to simulate a wooden desk.
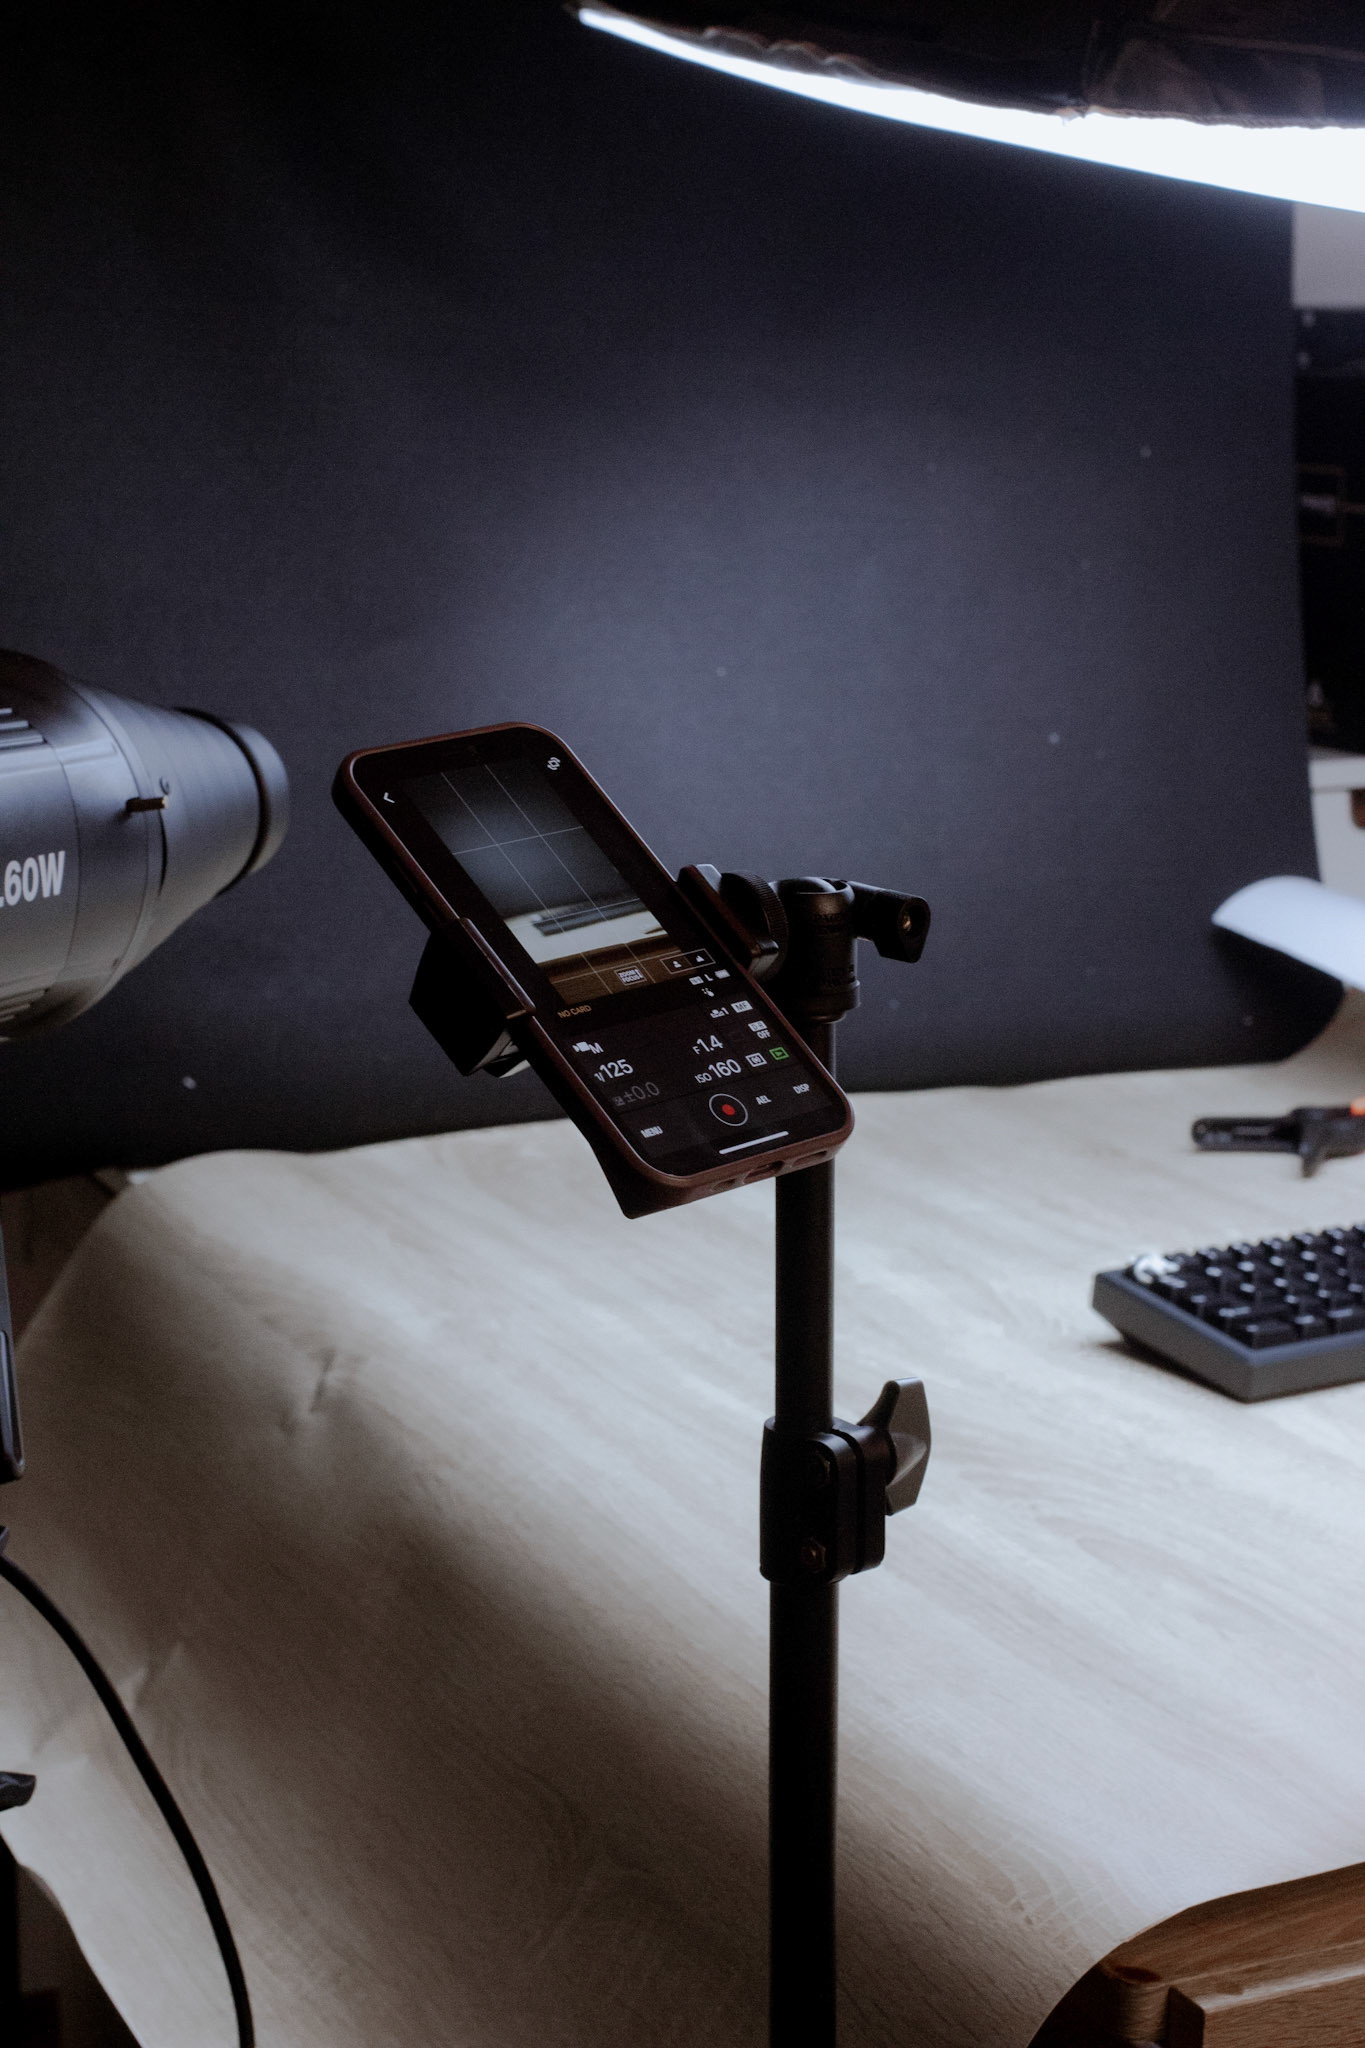
I shot these using my phone as a remote shutter to be able to hold the keyboard with one hand while looking at the preview on my phone.
It. Was. So. Tiring.

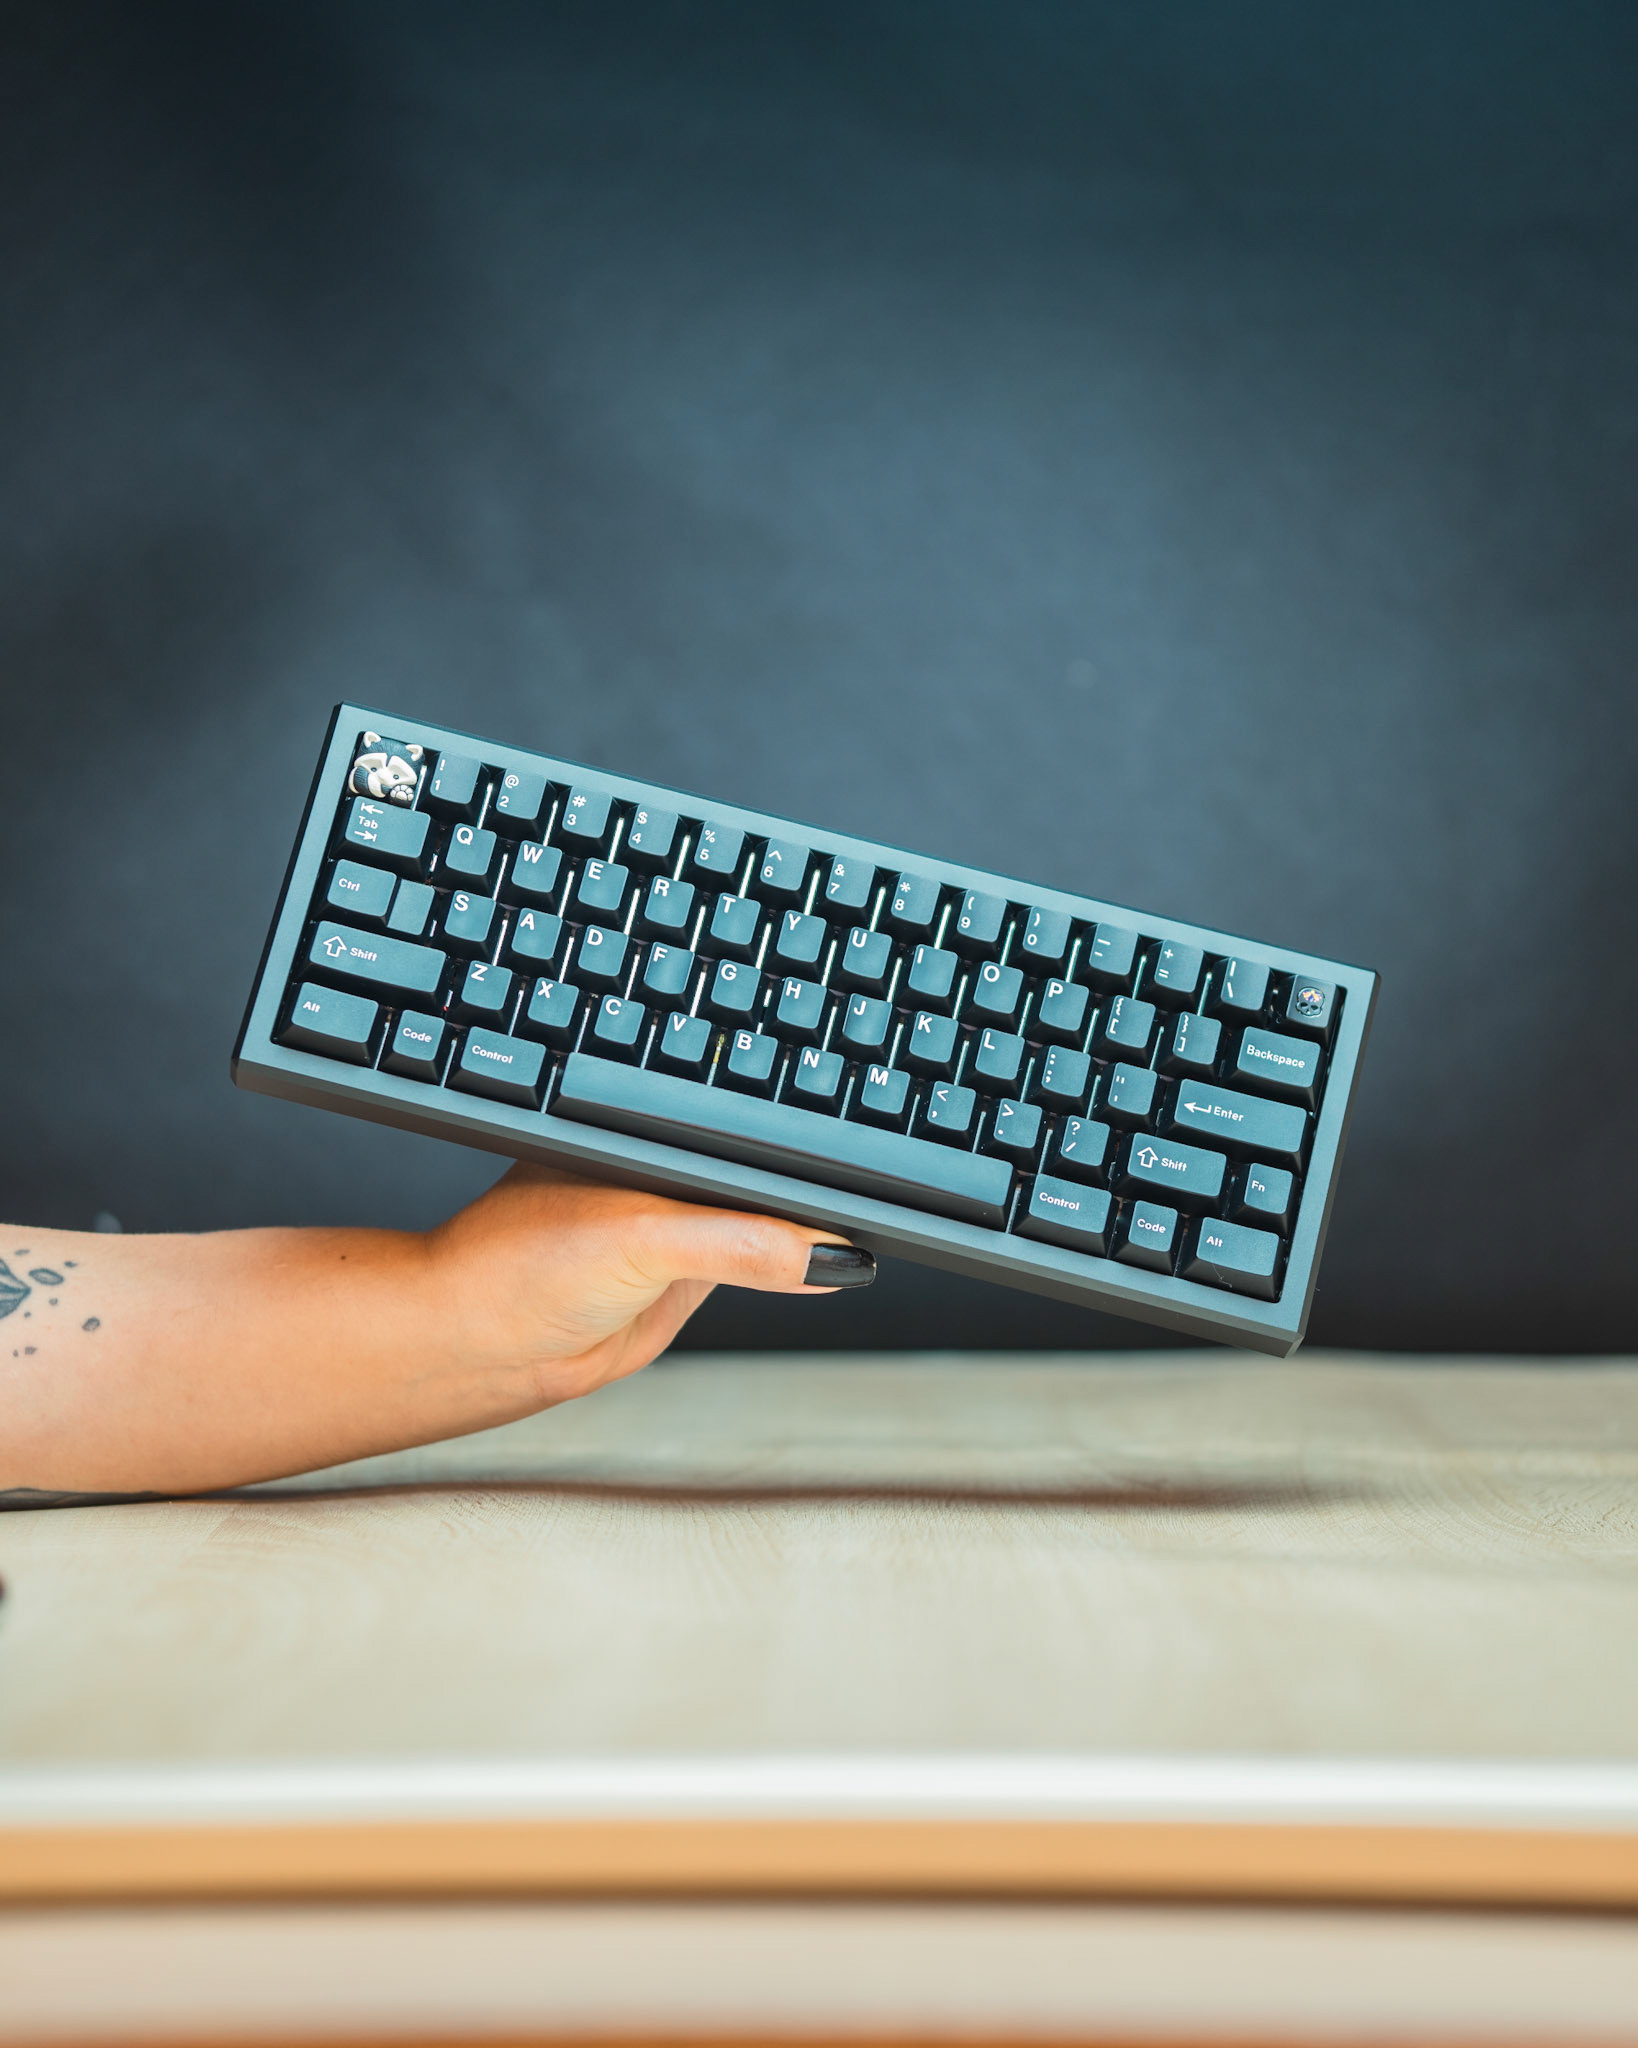
First attempt
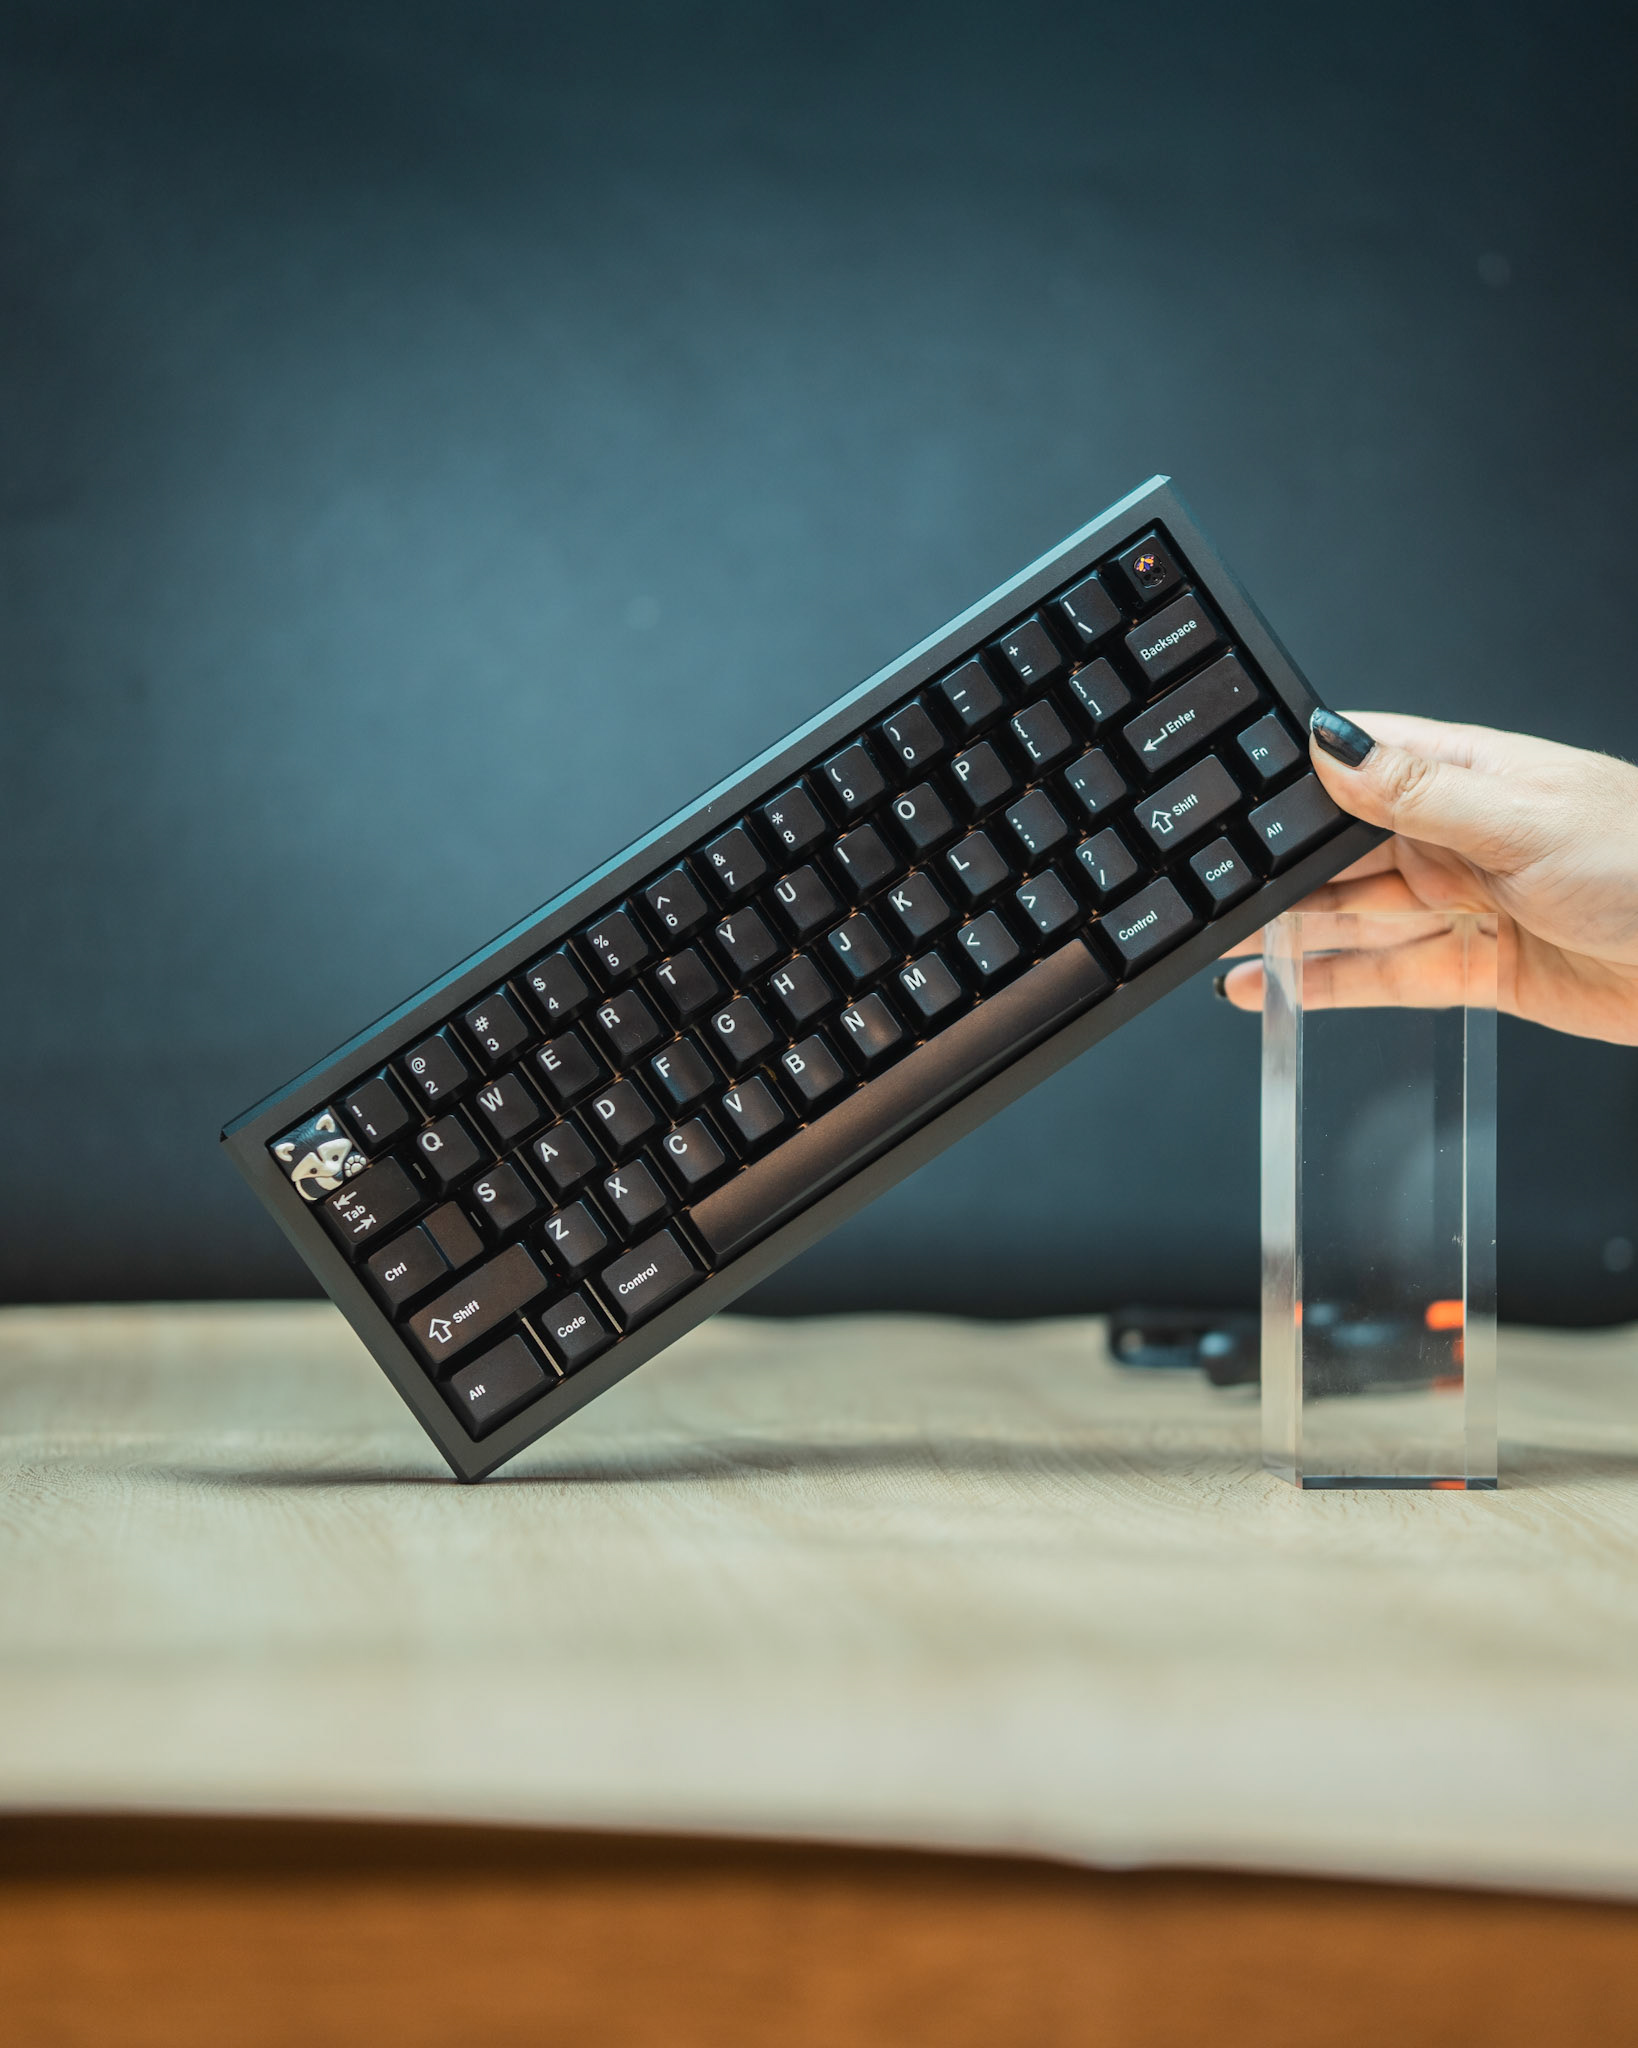
I took multiple photos with my hands in different positions so that I had more data to composite the final photo. The difficult part this time was that my arms were tired from the workout, so doing this was certainly uncomfortable, to say the least, despite one corner of the keyboard resting on the table. As you can see, the light was bouncing differently on every shot, and I even got it completely uneven in some.
I kept the focus in manual mode, locked on the keycaps, and the same exact settings for everything for every shot.
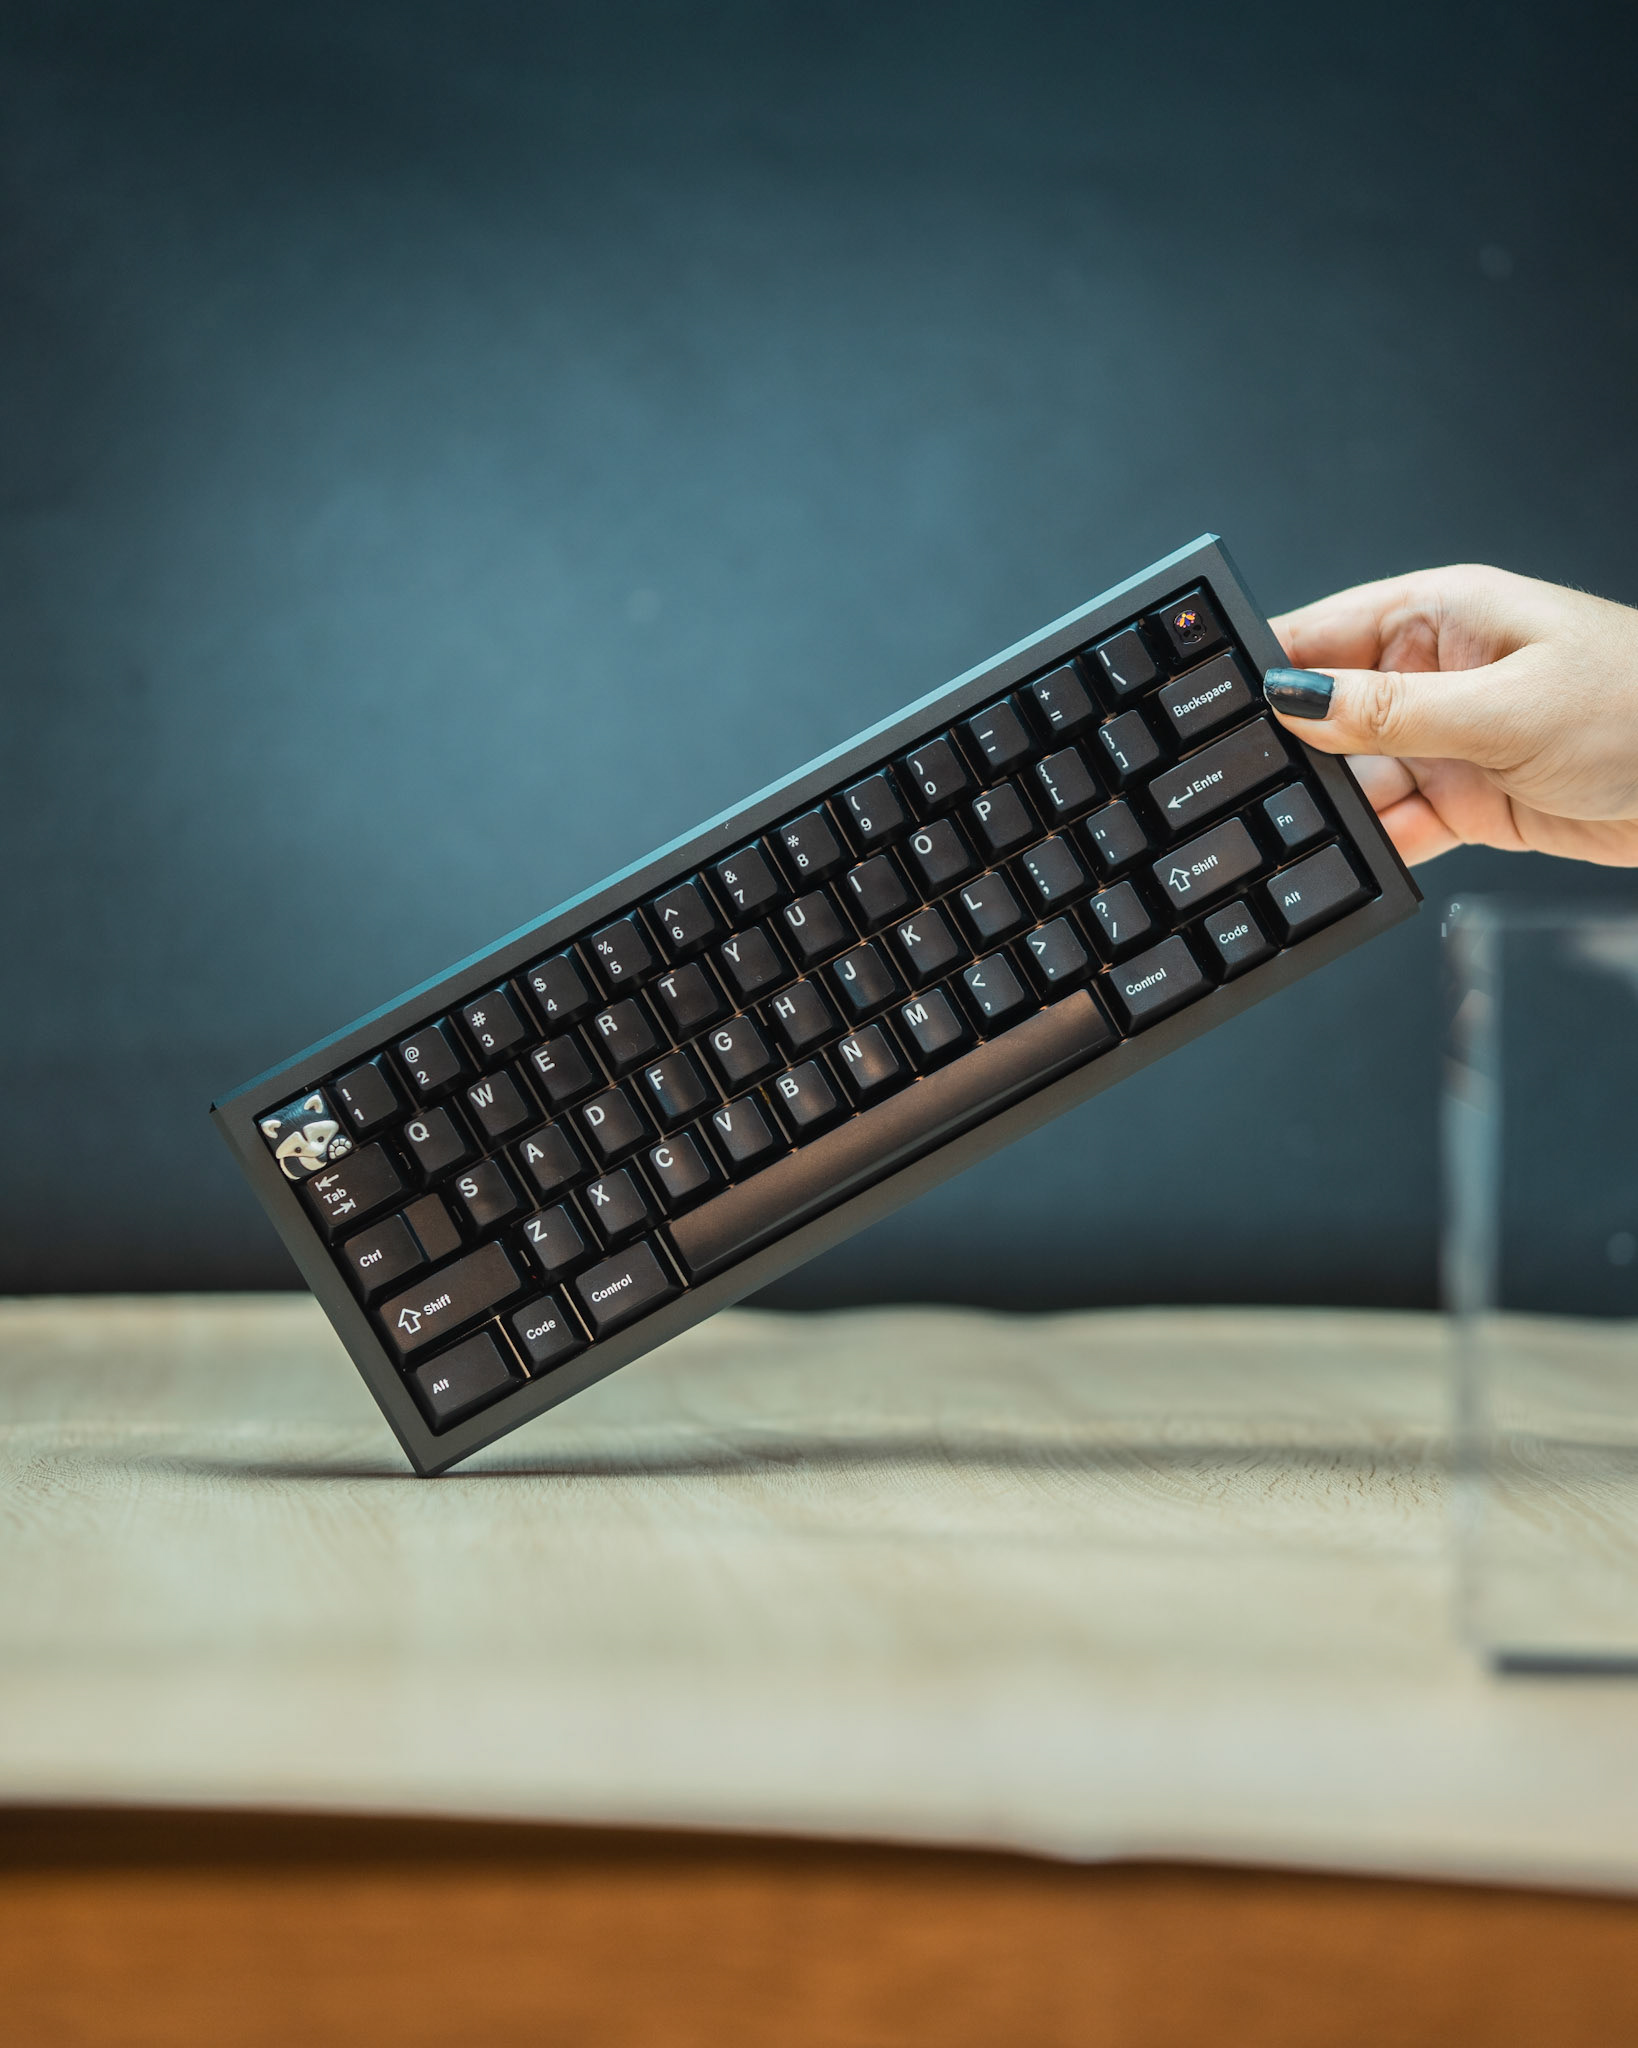
This is the final result:
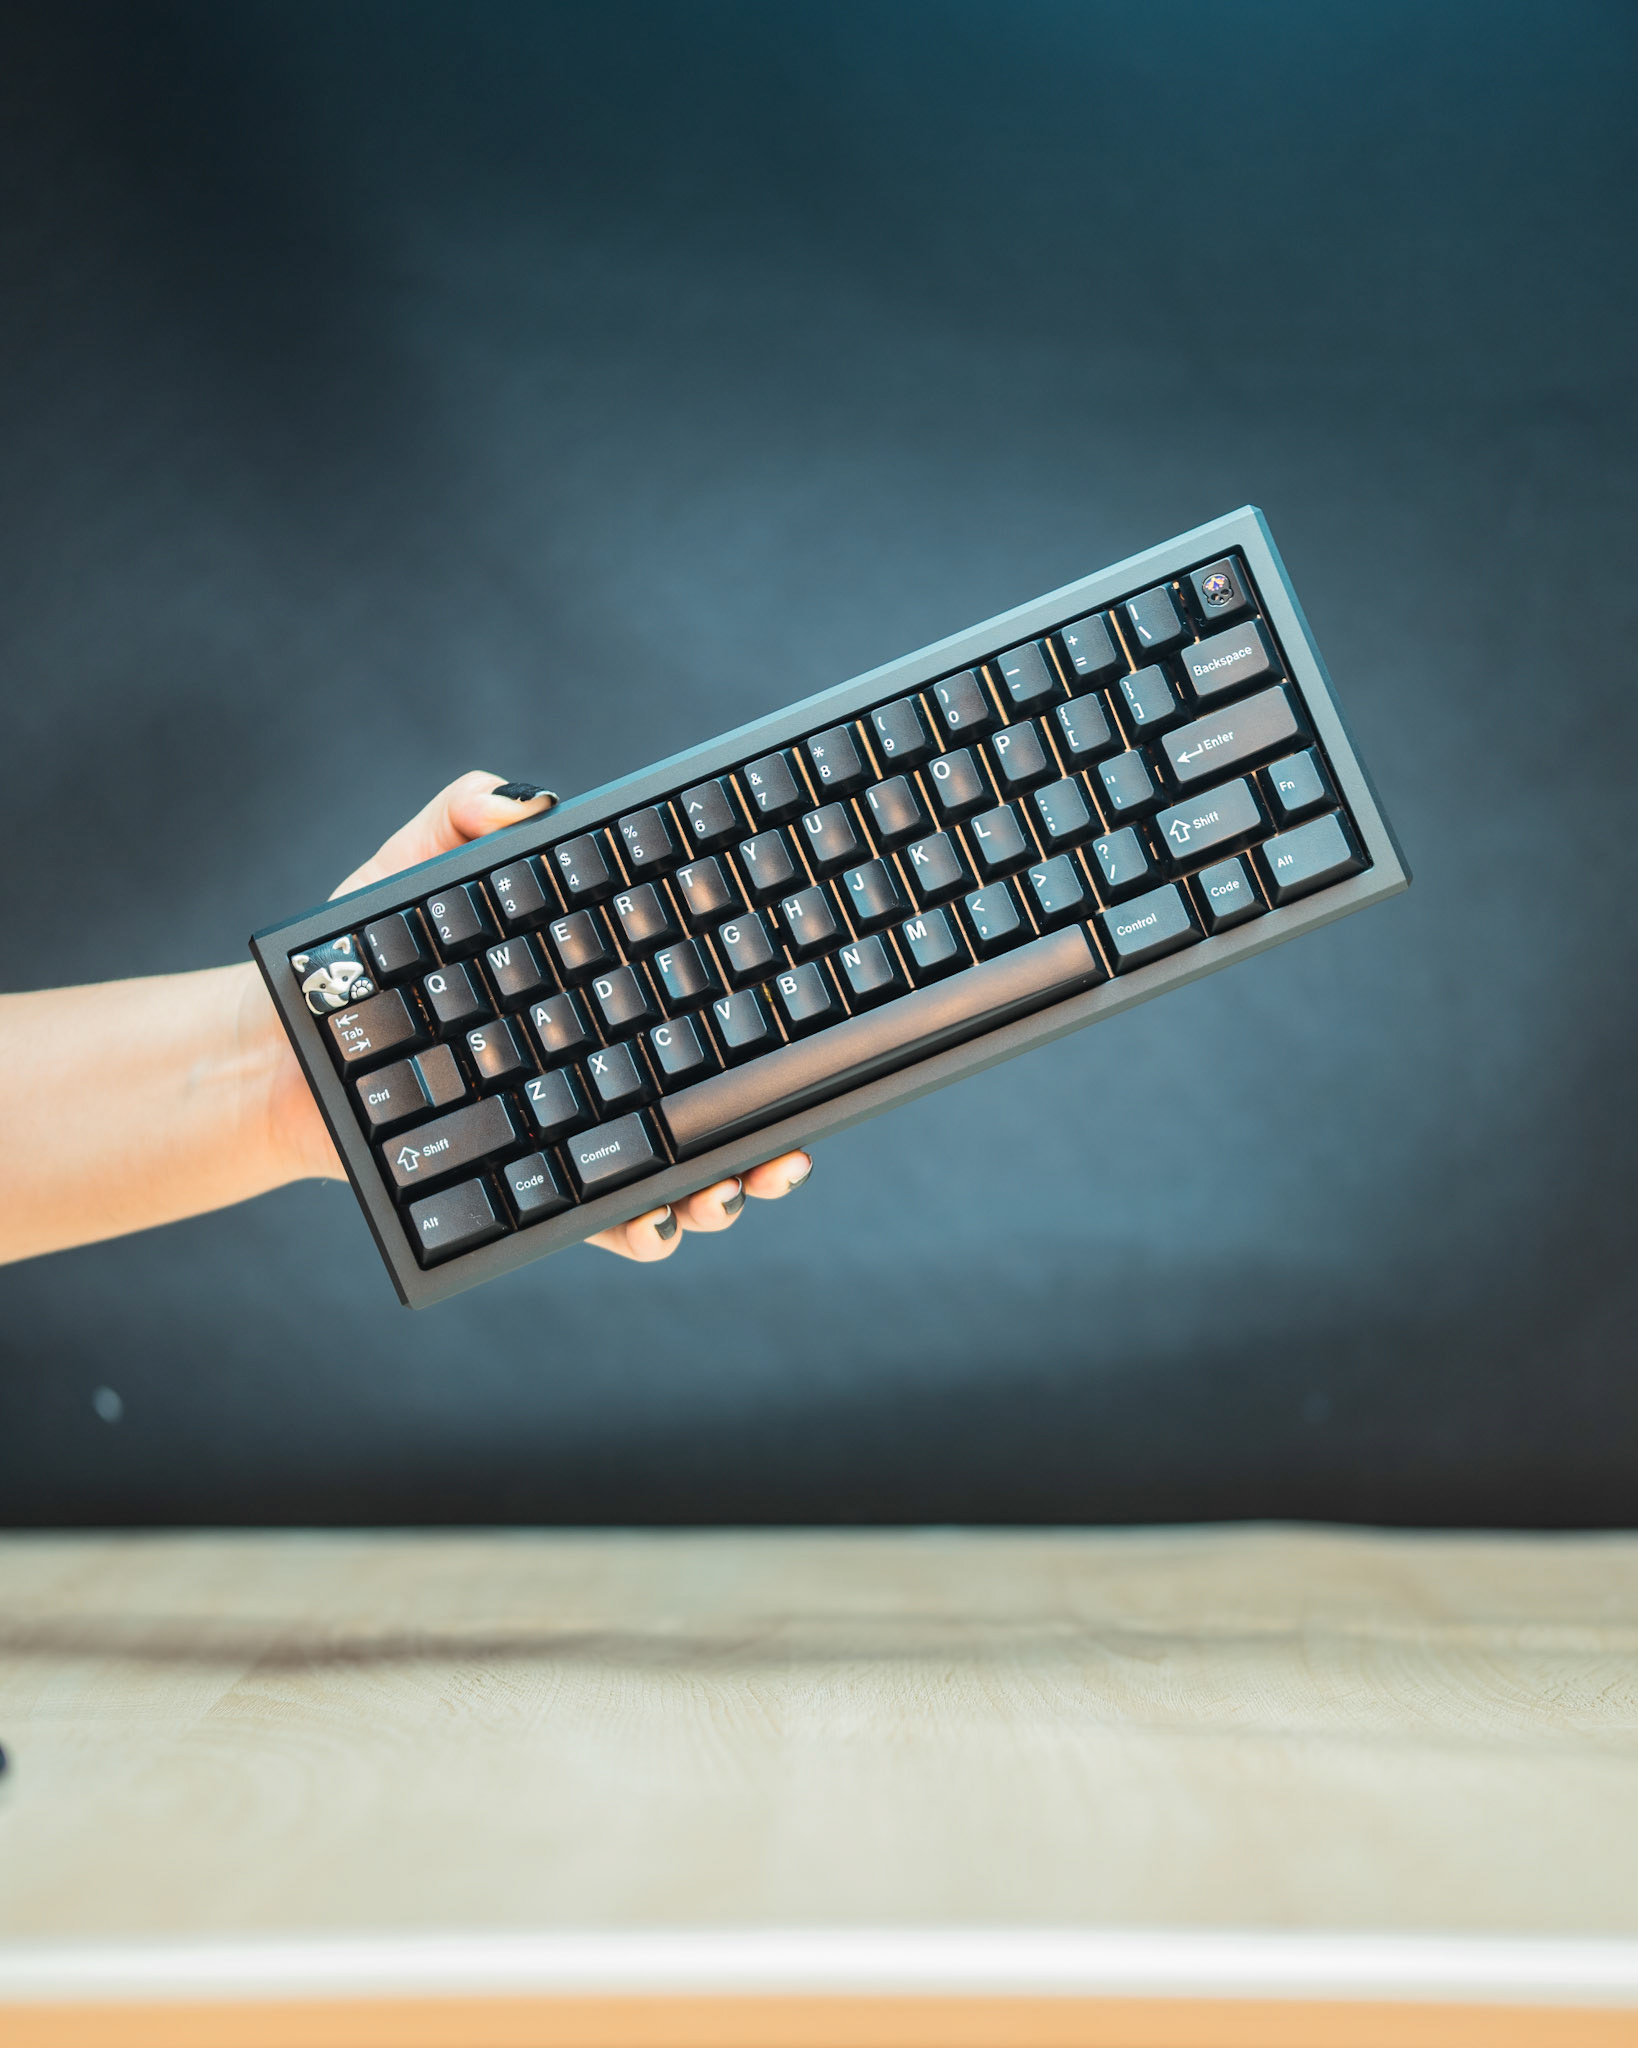
What did I like?
• I used the uneven light in some of the shots to give the keyboard a bit more dimension in the composite, and that turned out to be a good thing that I could use again if I get to retake photos of this keyboard.
• The backdrop looked exactly as I imagined. But I used my only good light for this. I need more good lights.
What did I not like?
• The texture of the wooden backdrop. I completely forgot to tape it to the table, so it had ripples that caused the disaster you're seeing here. Also, I think I shot with a very wide aperture, and my depth of field was too shallow for the wooden texture to stand out.
• The frontal light managed to get into the internals of the keyboard, creating those visual gaps between keycaps.
Second attempt
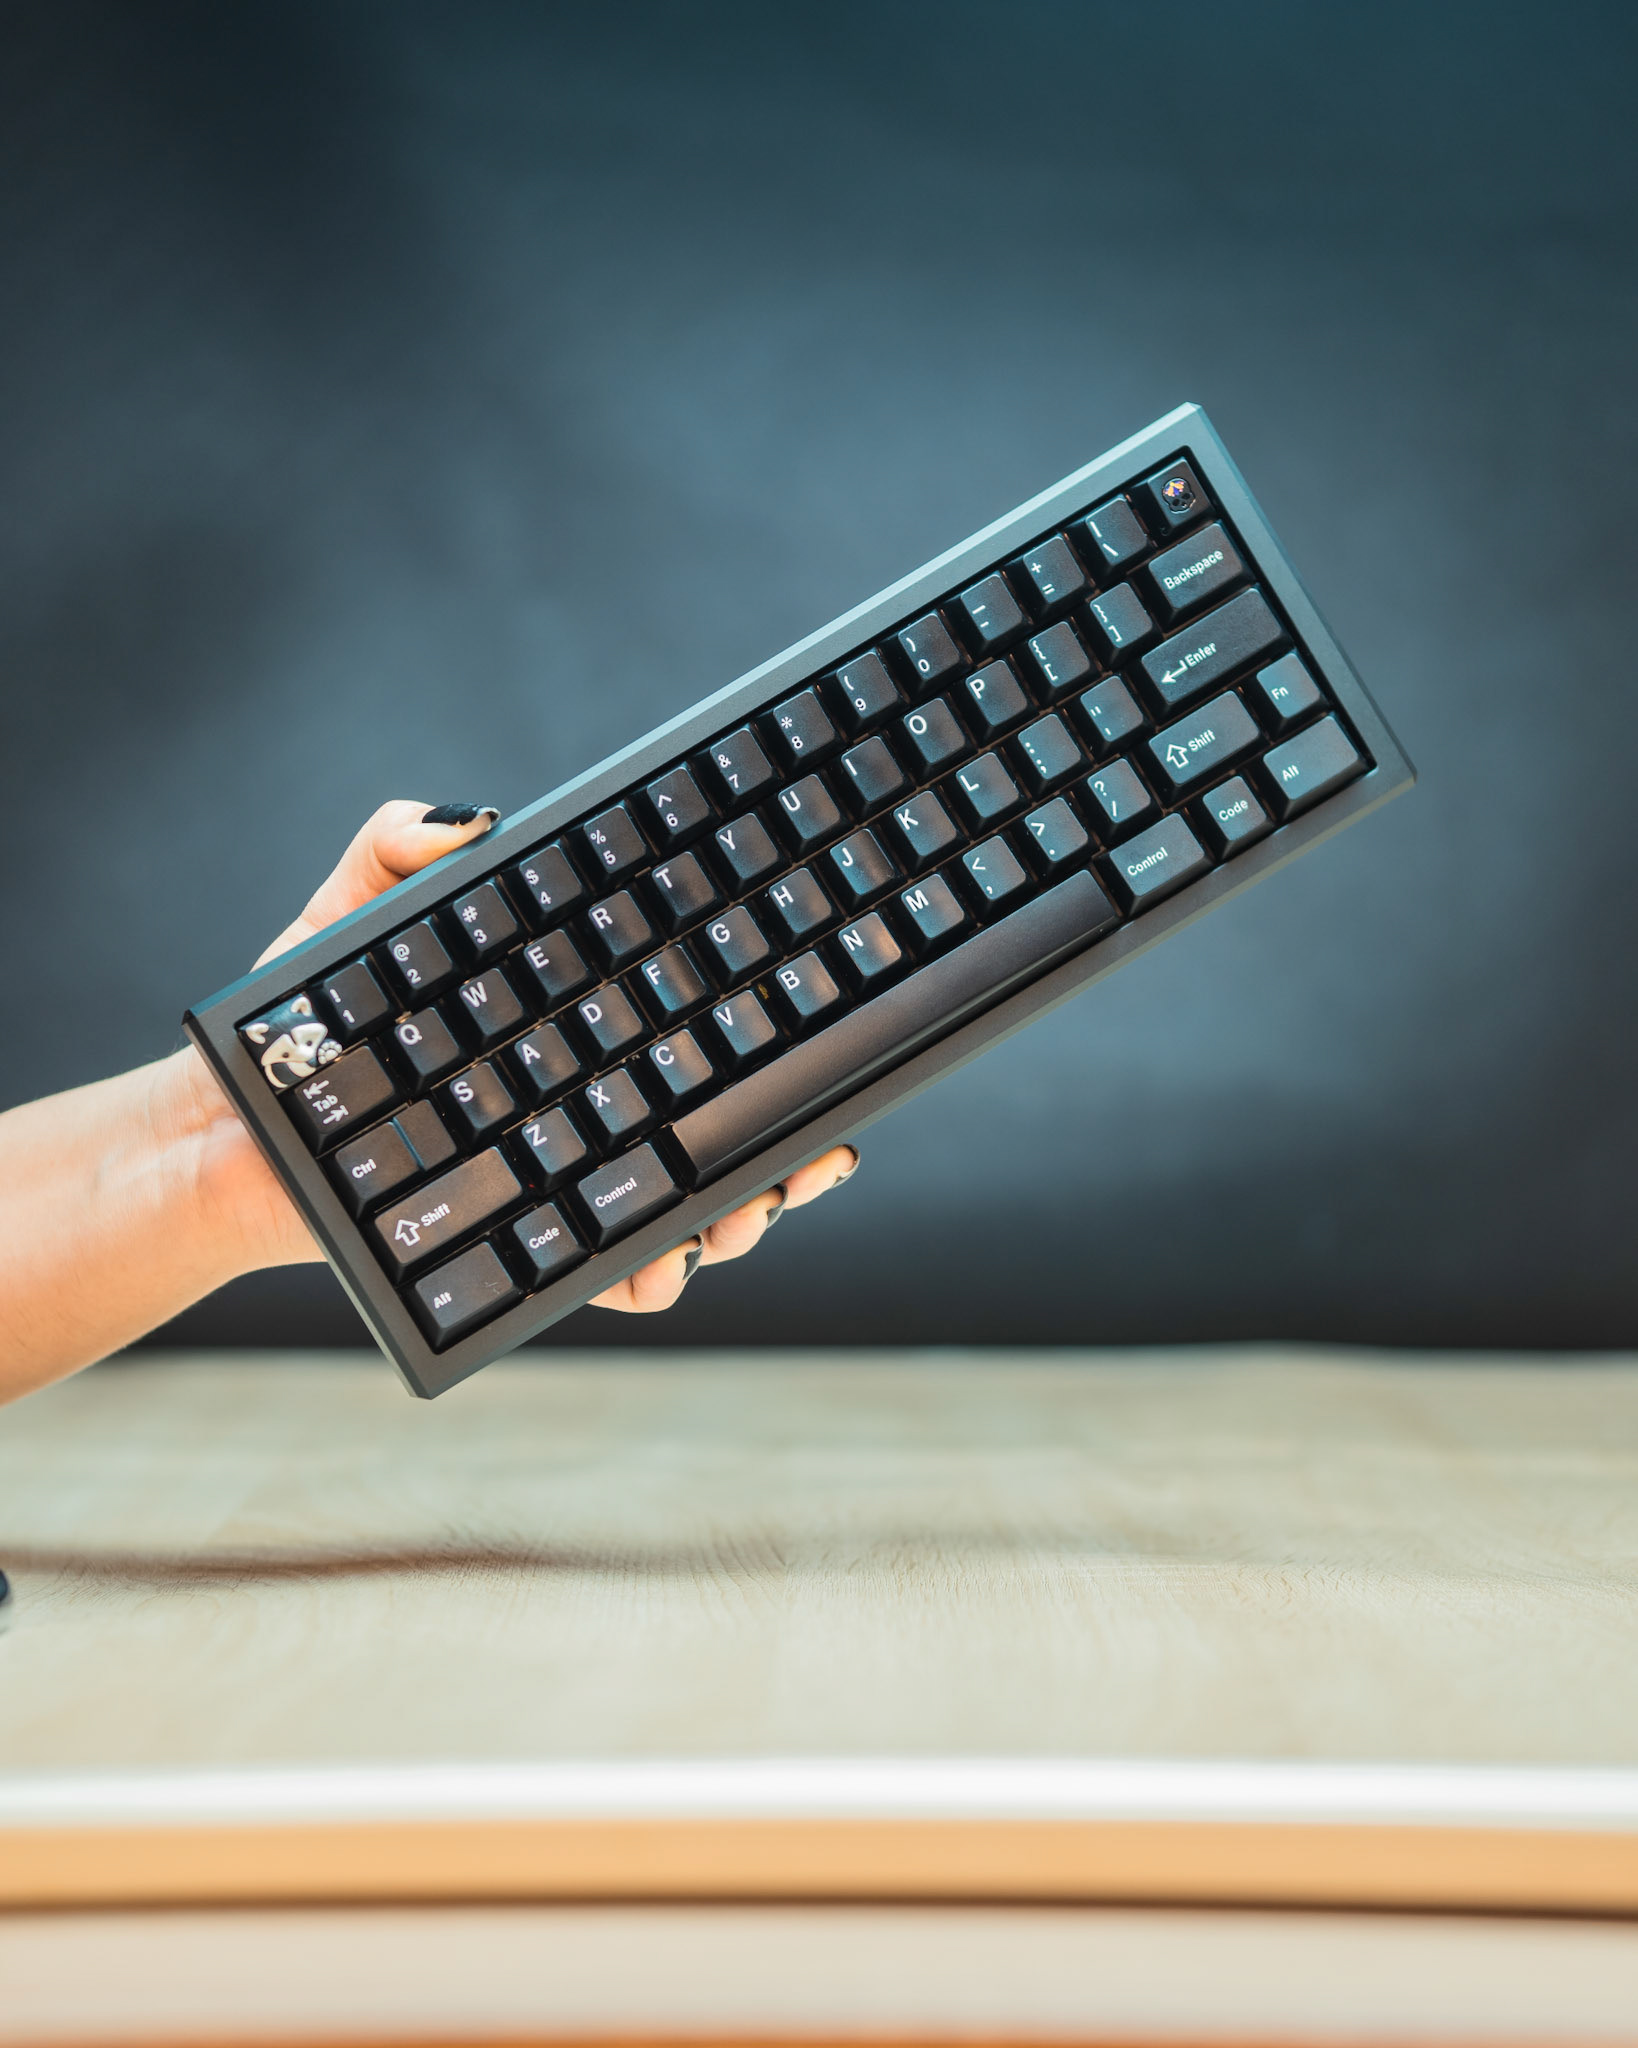
I fixed the backdrop ripples by taping it to the table but found out it was damaged during transportation, which made me reject the project entirely. Decided to finish it regardless.
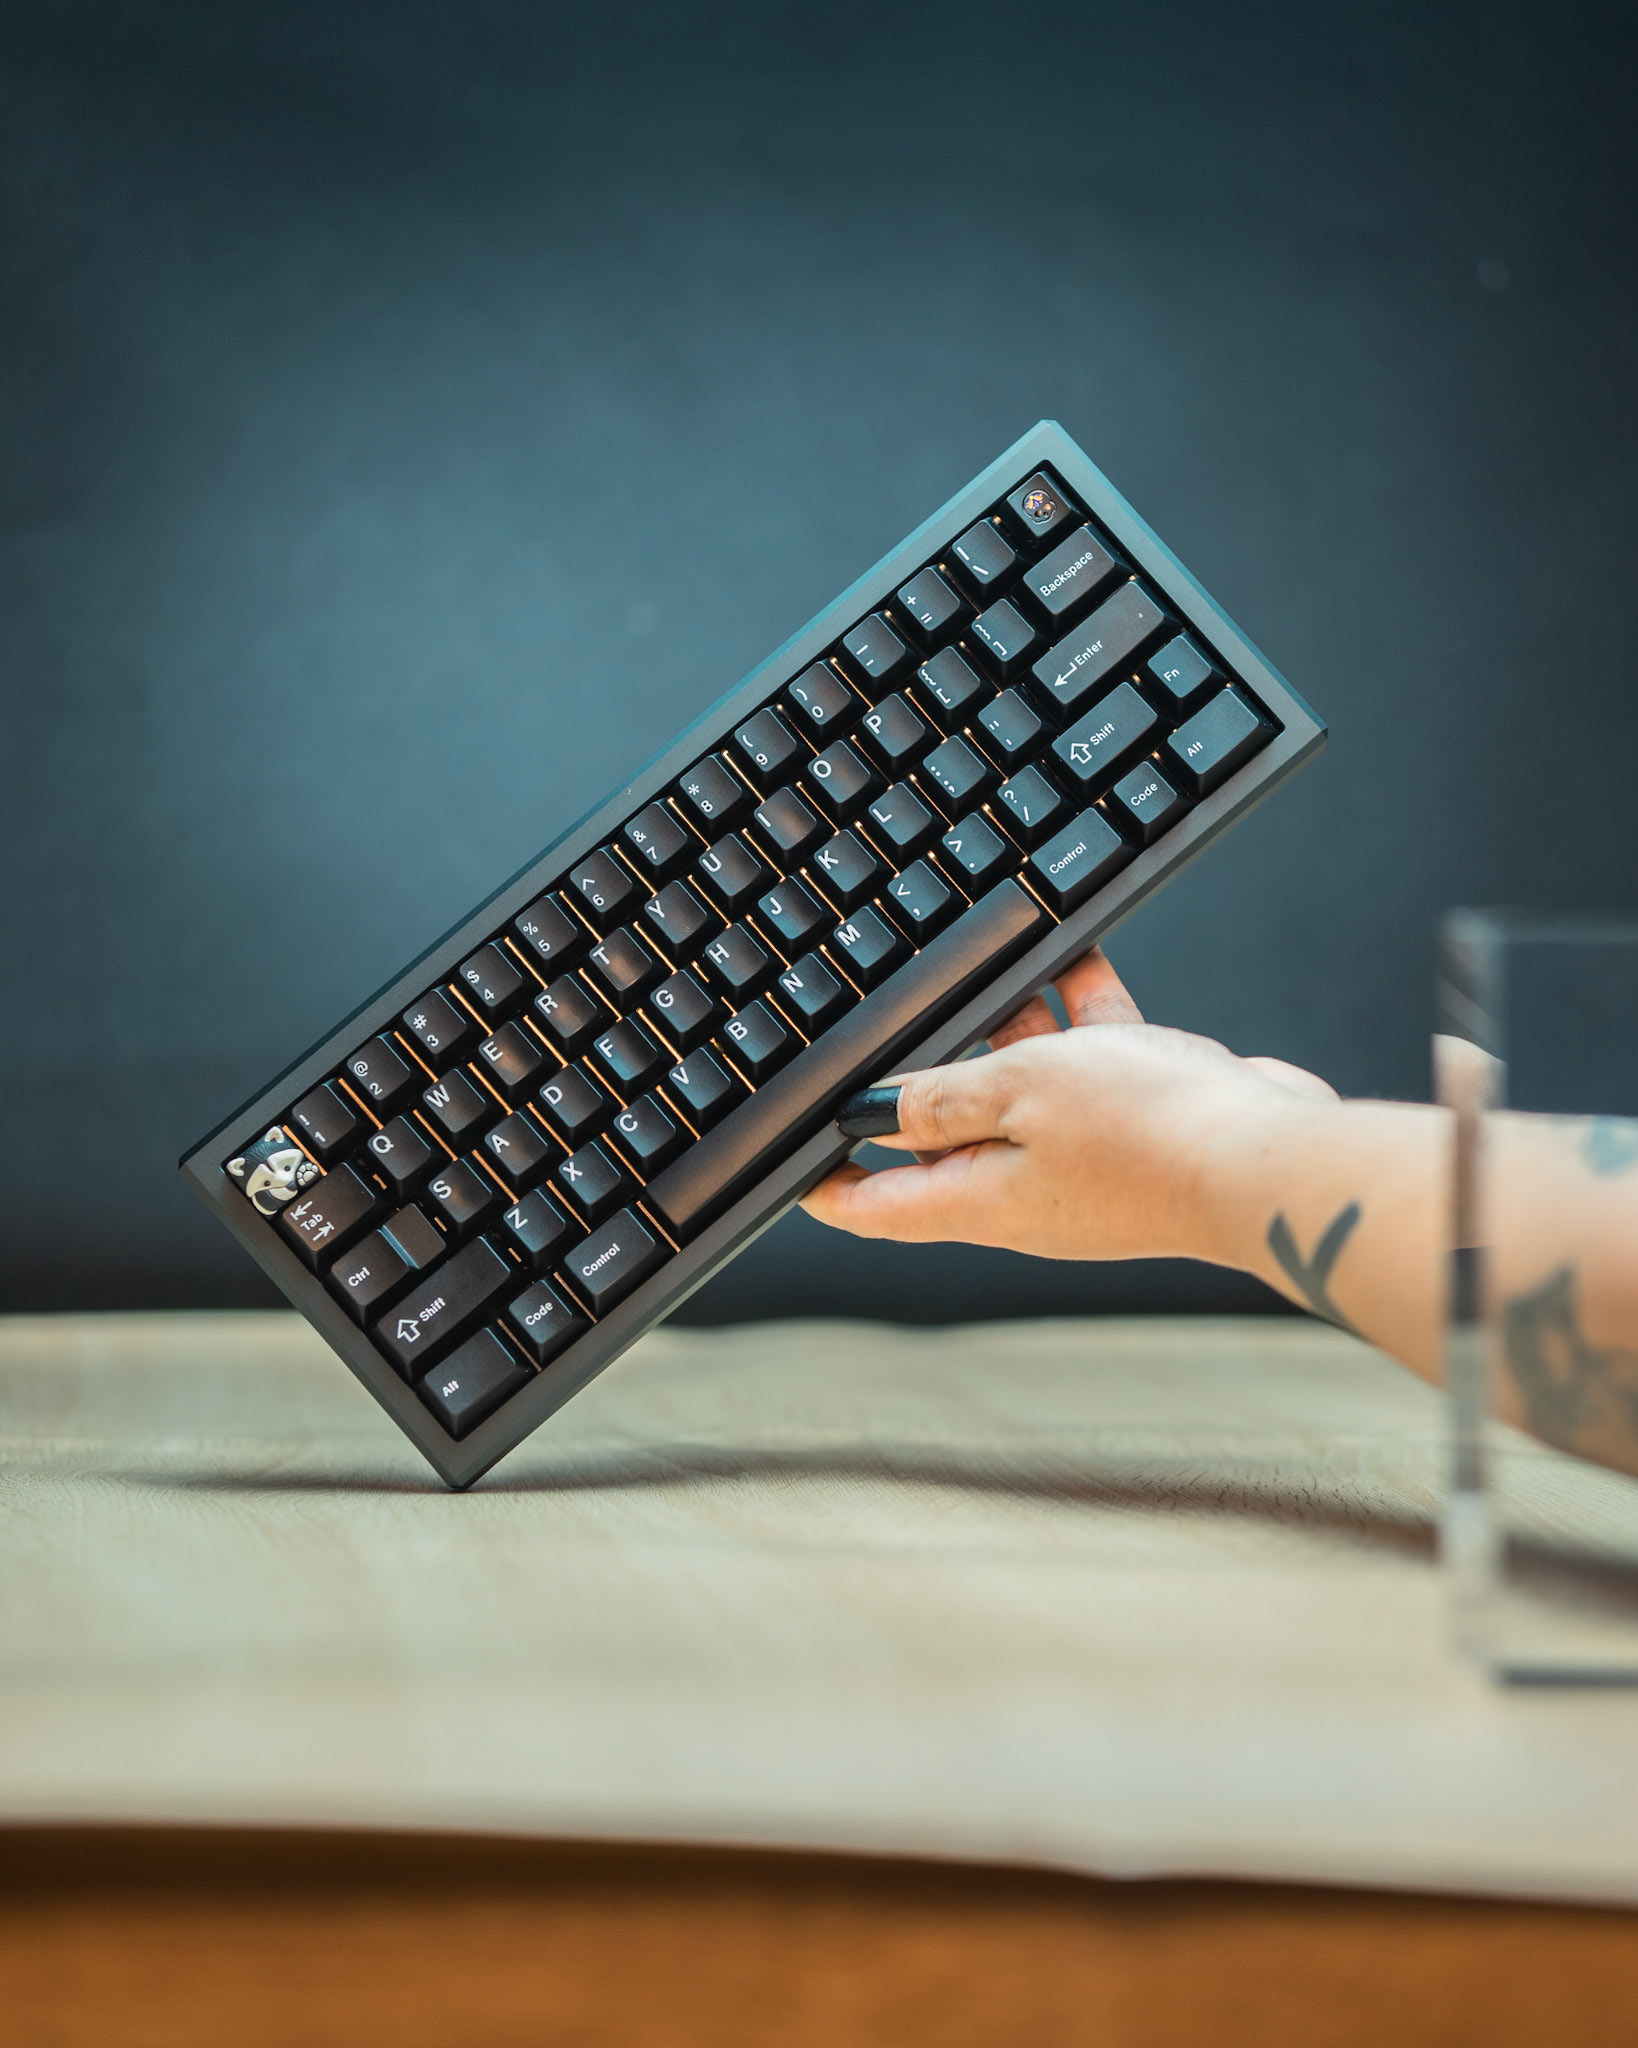
This time I didn't want the keyboard touching the backdrop, which is what made this project super tiring as I had to hold it in the air without too much wiggle room because I was using manual focus and a shallow depth of field.
Again, multiple shots with my hands in different positions, now trying to make an uneven lighting surface on purpose because it was useful on post.
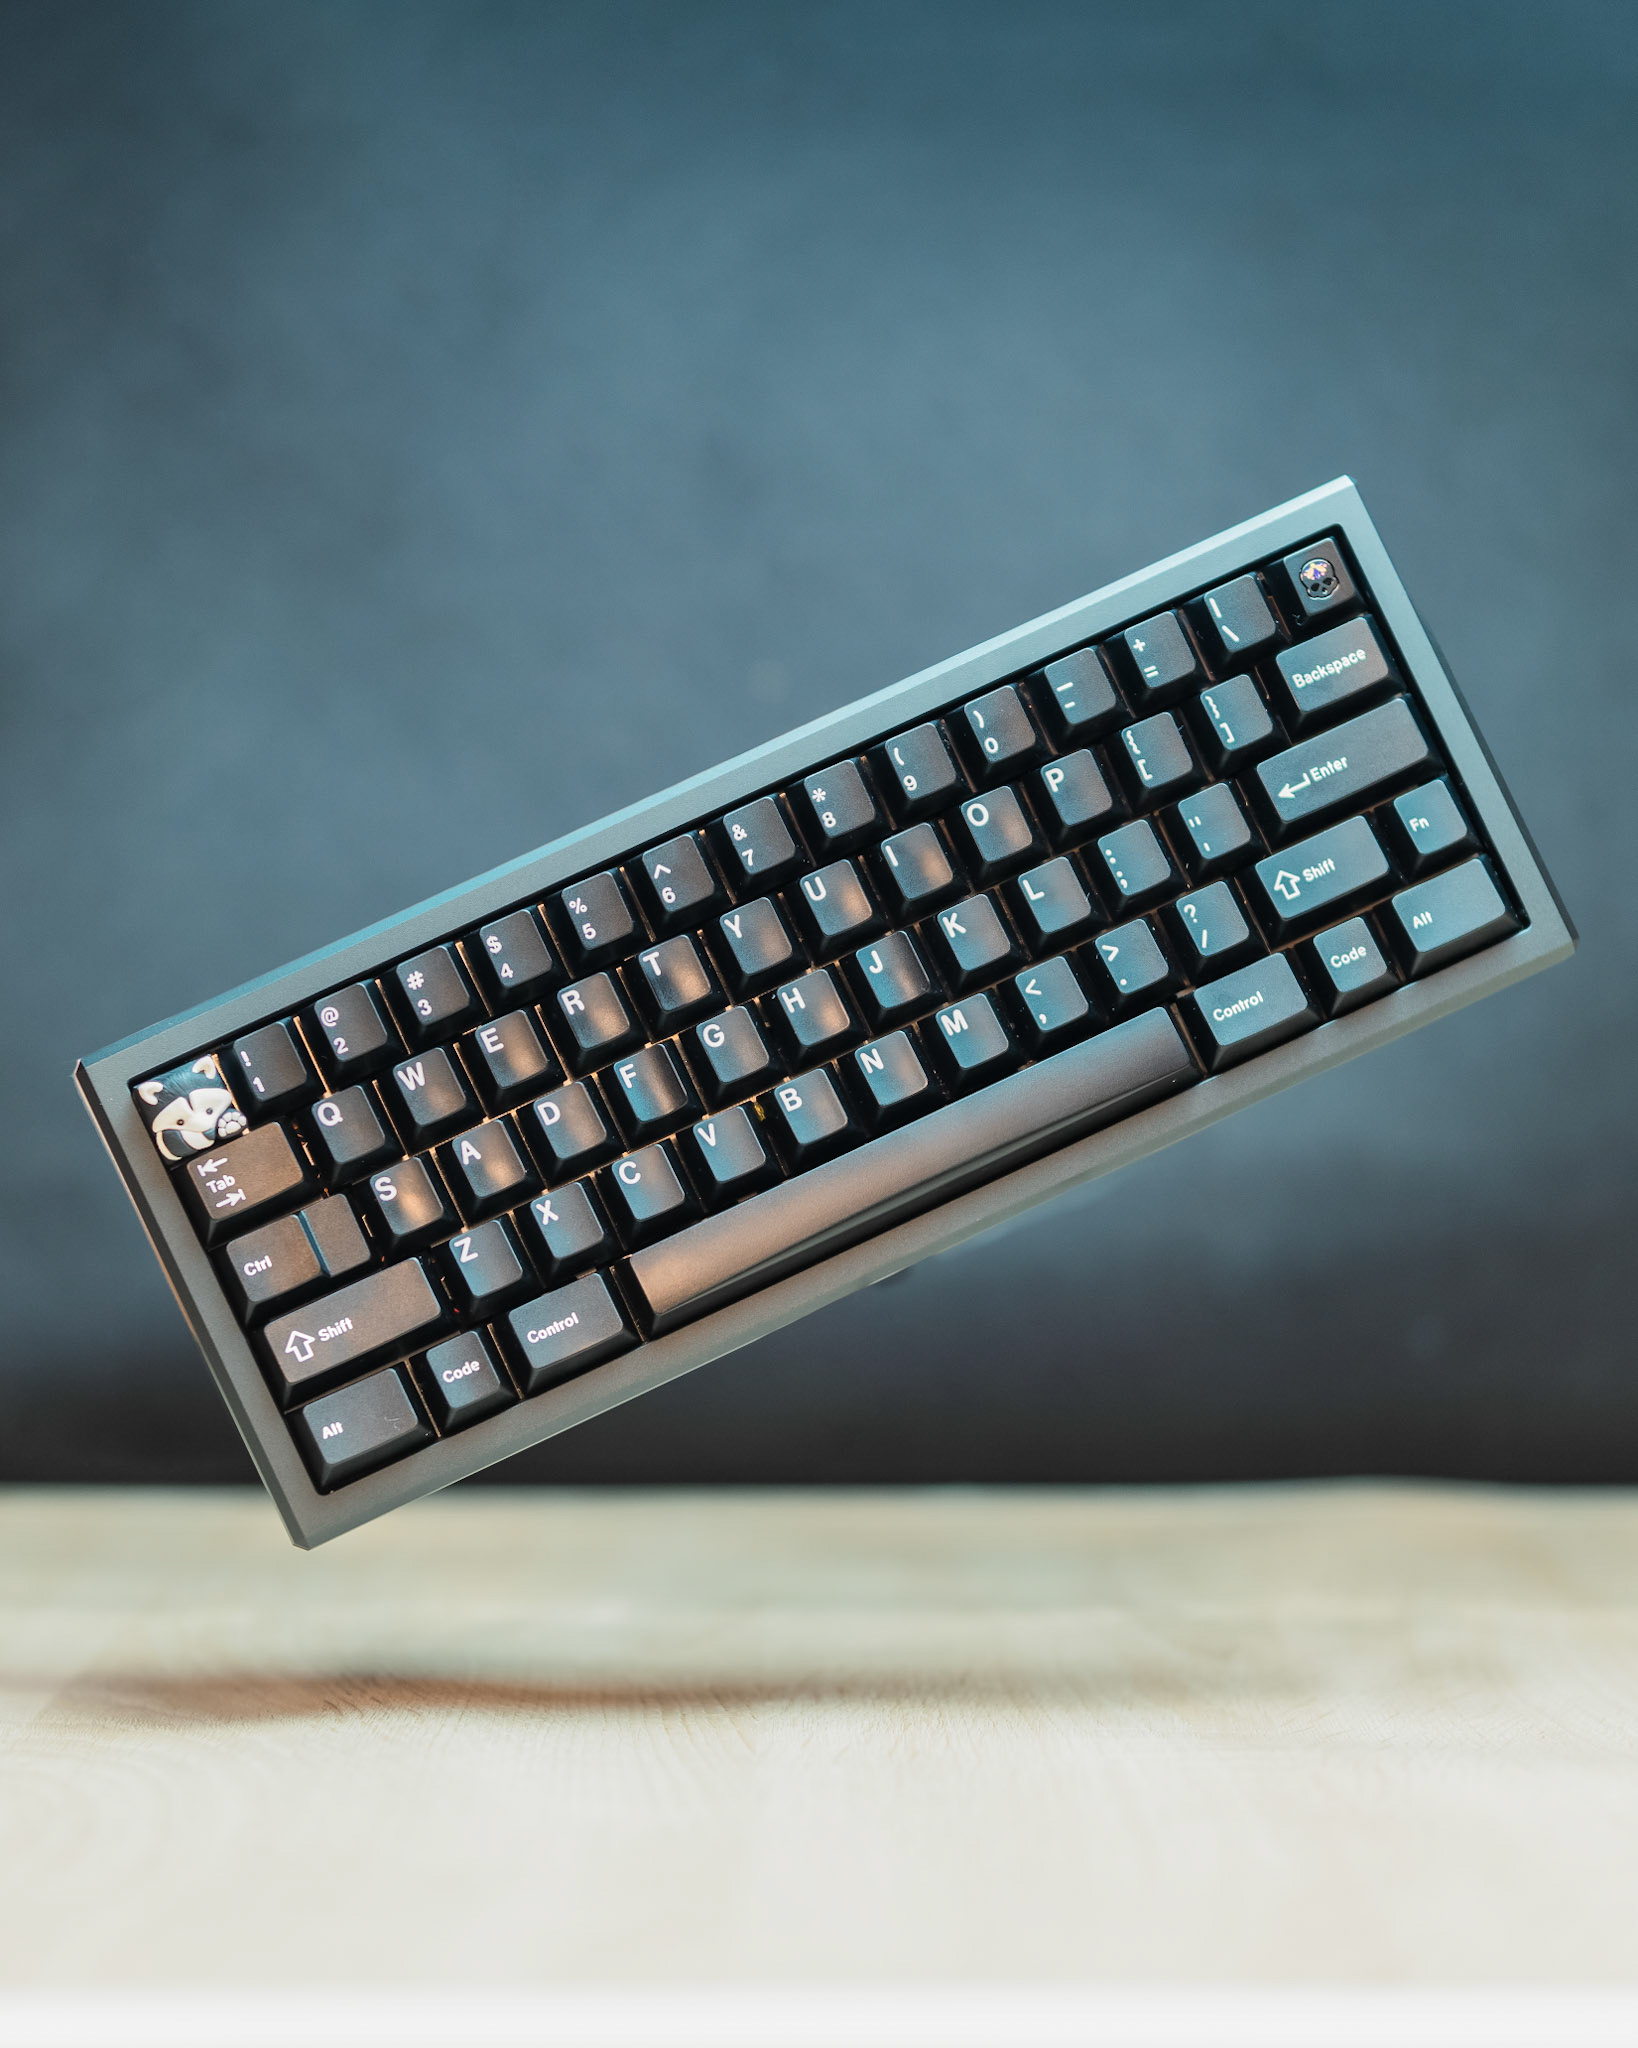
This is the final result:

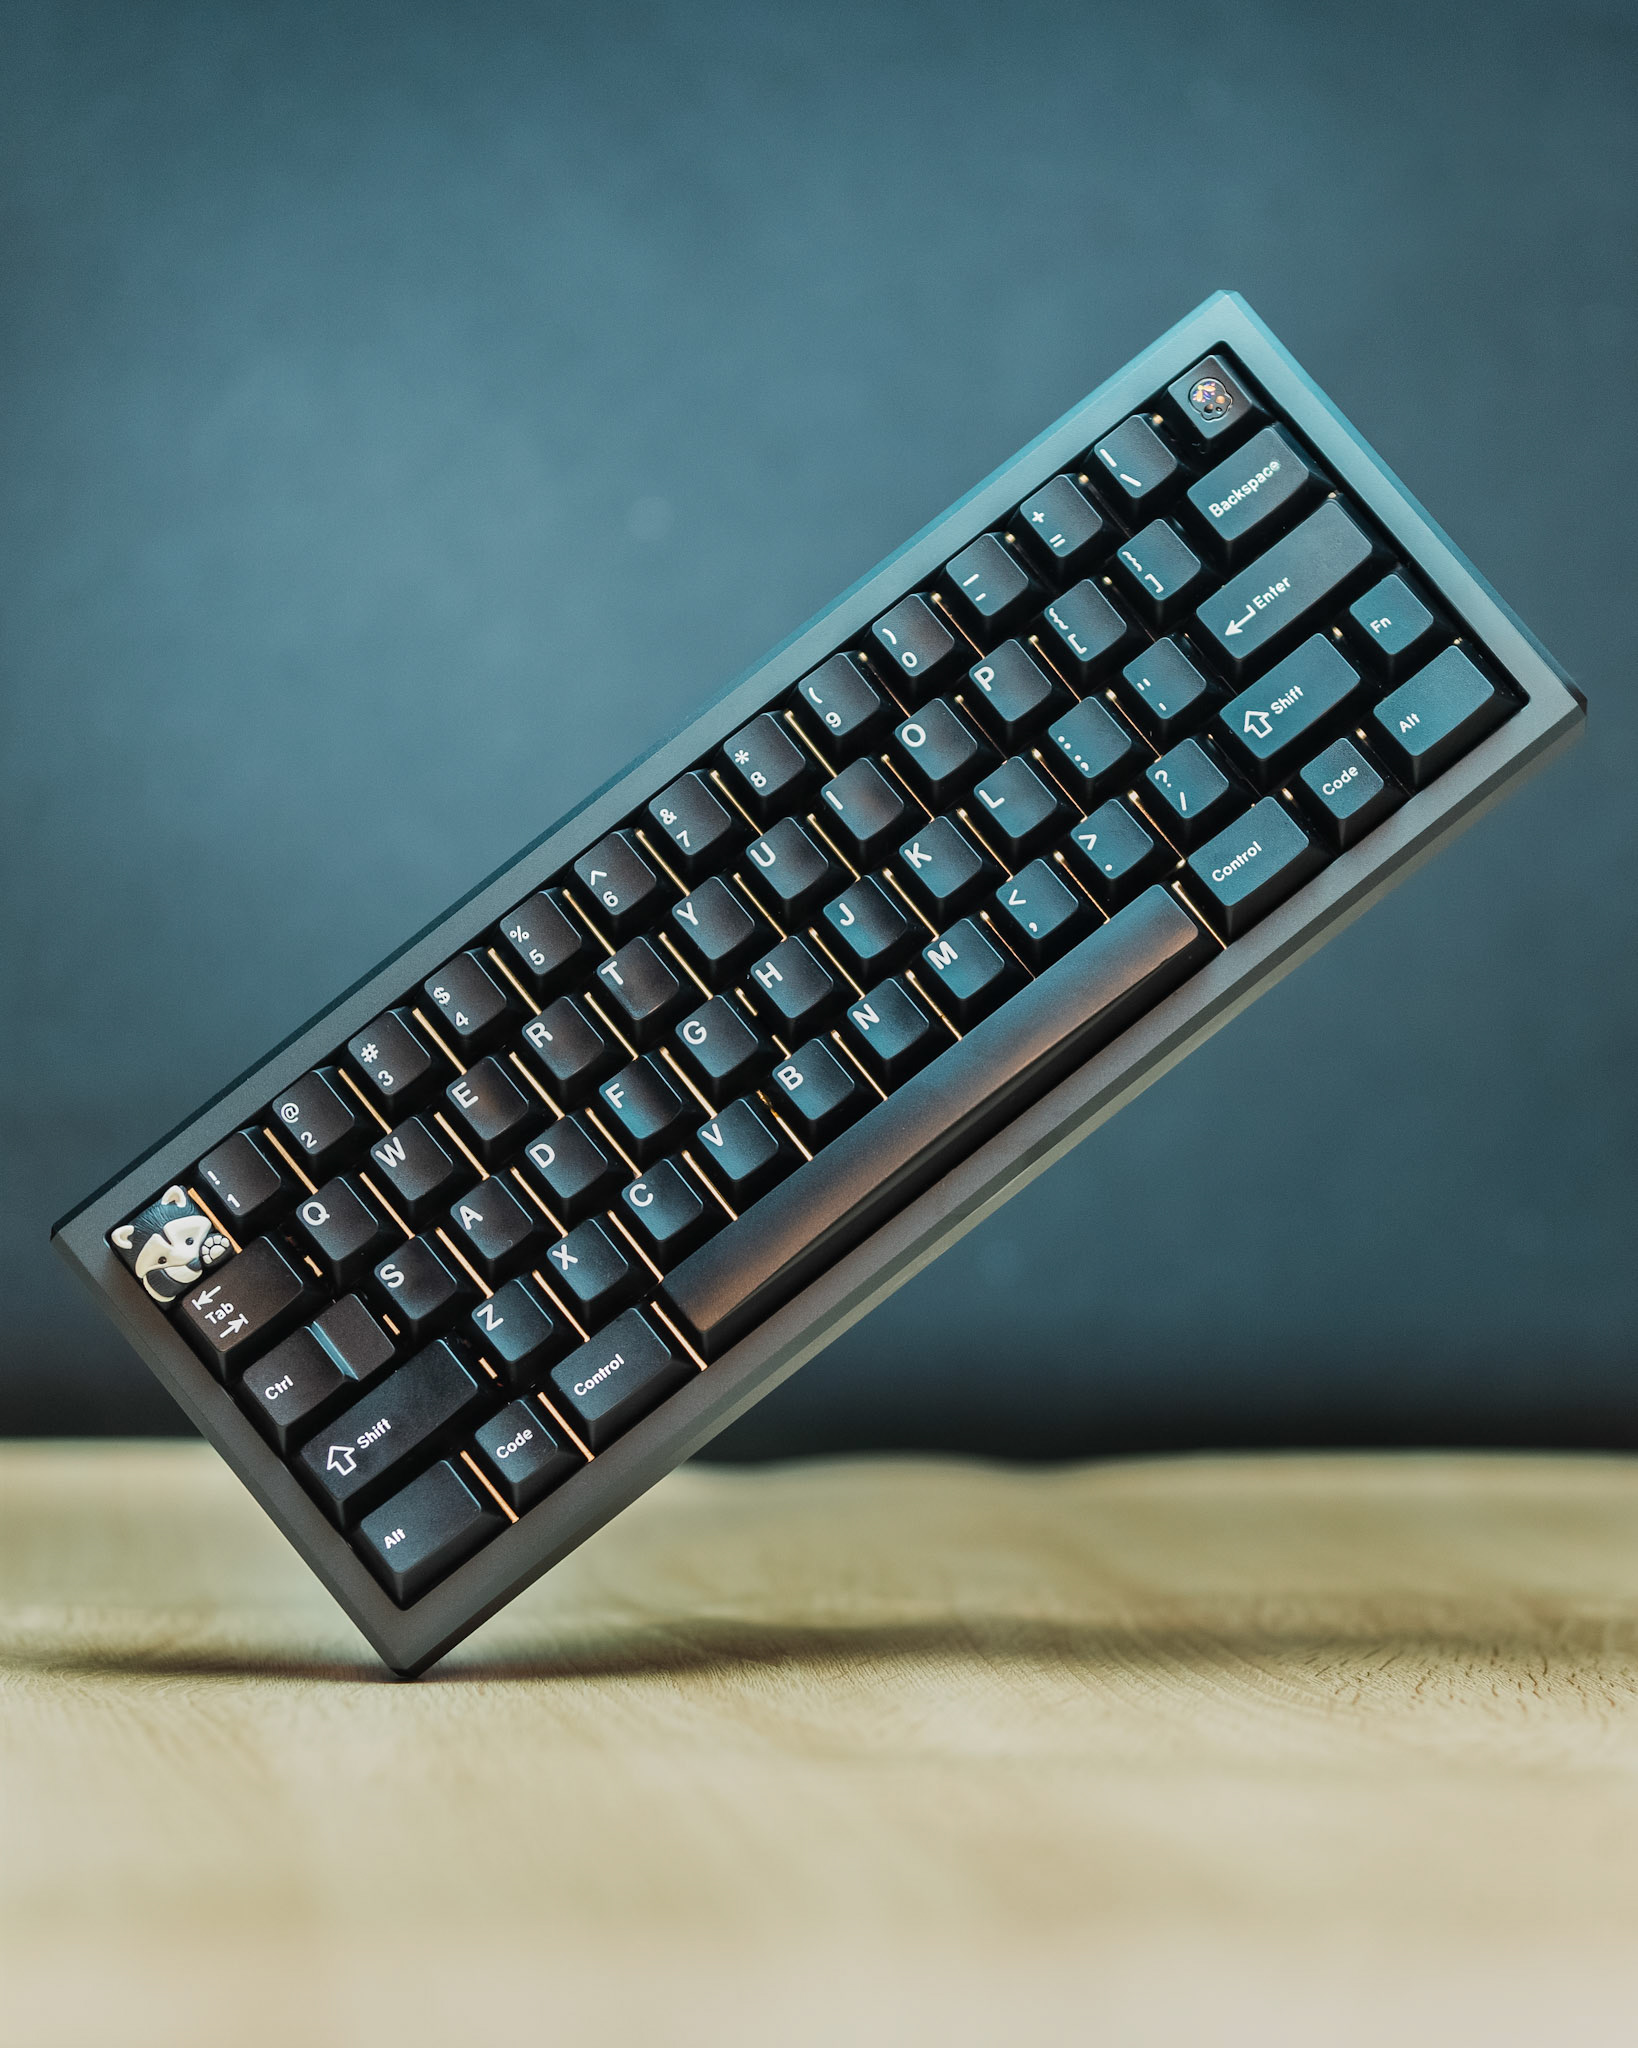
I didn't finish the composite because I had already made up my mind to reject the project, so there were artefacts and errors. Know that they are there for educational and transparency purposes.
What did I like?
•Having the keyboard not touching the surface definitely introduces a better and more realistic dimension to this kind of shots, so this is something that I will keep doing.
• The presence of a real shadow in the composition. I'm starting to realise that shadows are a huge giveaway in levitation shots – they need to be real –or realistic enough– to give the viewer the context of what the subject is doing in the composition.
What did I not like?
• Despite my efforts trying to tape the horizontal backdrop, the shadow was very affected by the minimal ripples because of the positioning of my lights. This is an important lesson. Minimal ripples will be accentuated when light hits perpendicular to them.
• I changed the light temperature to the warm mode in an attempt to minimise the reflection on the internals in the previous attempt, but this caused an unpleasant glare on some of the keycaps, and my arms were too tired to keep trying different positions.
Final thoughts and lessons learned
Definitely not doing this again on arms day.
Perpendicular light is harder to control.
Need better lights.
Levitation shots are SO fun.
–Tanja.
My commissions for product photography are open! Get in touch.
Thank you!
